
TL;DR
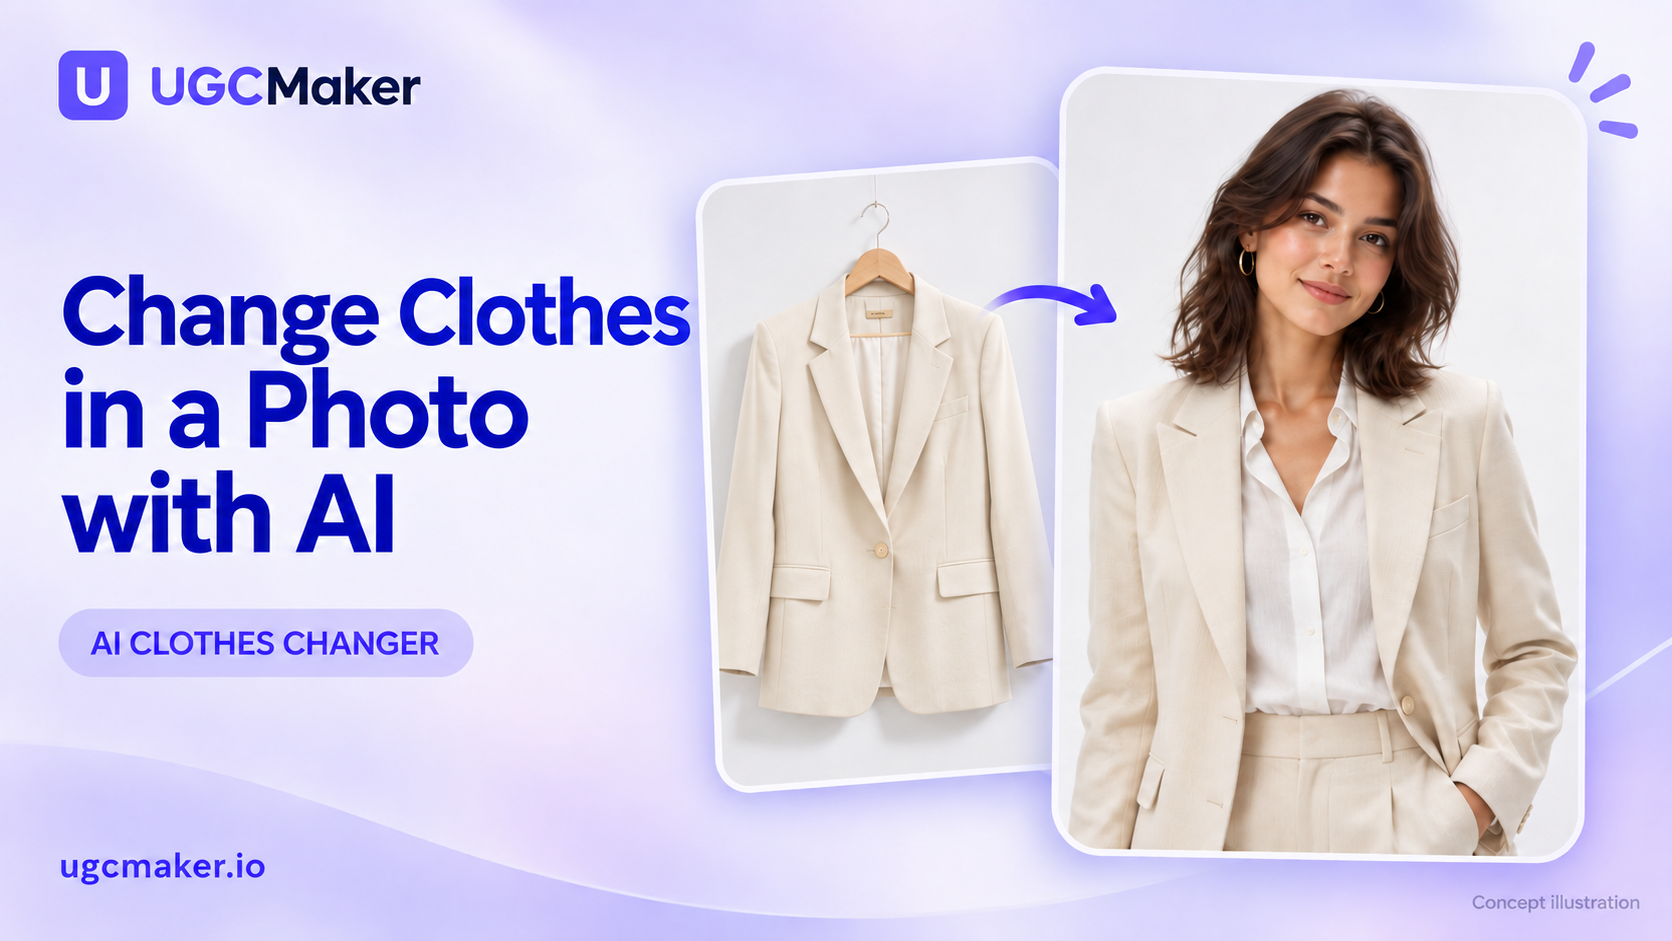
- To change clothes in a photo with AI, upload a clear person photo, choose a garment reference or outfit description, generate a candidate and compare it with your sources.
- In UGC Maker, use Upload for a specific garment, Style for a preset look, or Custom for a written outfit idea.
- Start with a person whose clothing area is clearly visible and a garment reference showing the details you want to preserve.
- Check the face, hands, clothing boundaries, pattern and fasteners. A realistic-looking image can still change the product or person.
- Treat the result as a visual preview. It does not measure clothing size, comfort or real-world fit.
The key choice is whether you need to visualize a real item or invent a look. A navy blazer described in words is a styling concept. A particular blazer you sell needs a reference photo and a comparison against its actual details.
This tutorial is published by UGC Maker. Instructions follow the tool's available controls as of October 14, 2026. The examples were prepared with AI assistance; they are untested starting prompts, not documented before-and-after results or a guarantee of garment fidelity.
Choose the right clothes-changing mode
| Goal | Mode | What you provide | What the result cannot establish |
|---|---|---|---|
| Visualize a particular item | Upload | Person photo plus garment reference | Exact construction, sizing or fit |
| Explore a general look | Style | Person photo plus selected preset | That an identical outfit exists for sale |
| Describe a new outfit concept | Custom | Person photo plus text description | The identity of a specific SKU |
The Custom description belongs to its own mode. Do not assume a description entered there will also control an Upload or Style run. For a real garment, make the reference image do the work and inspect what the model changes.
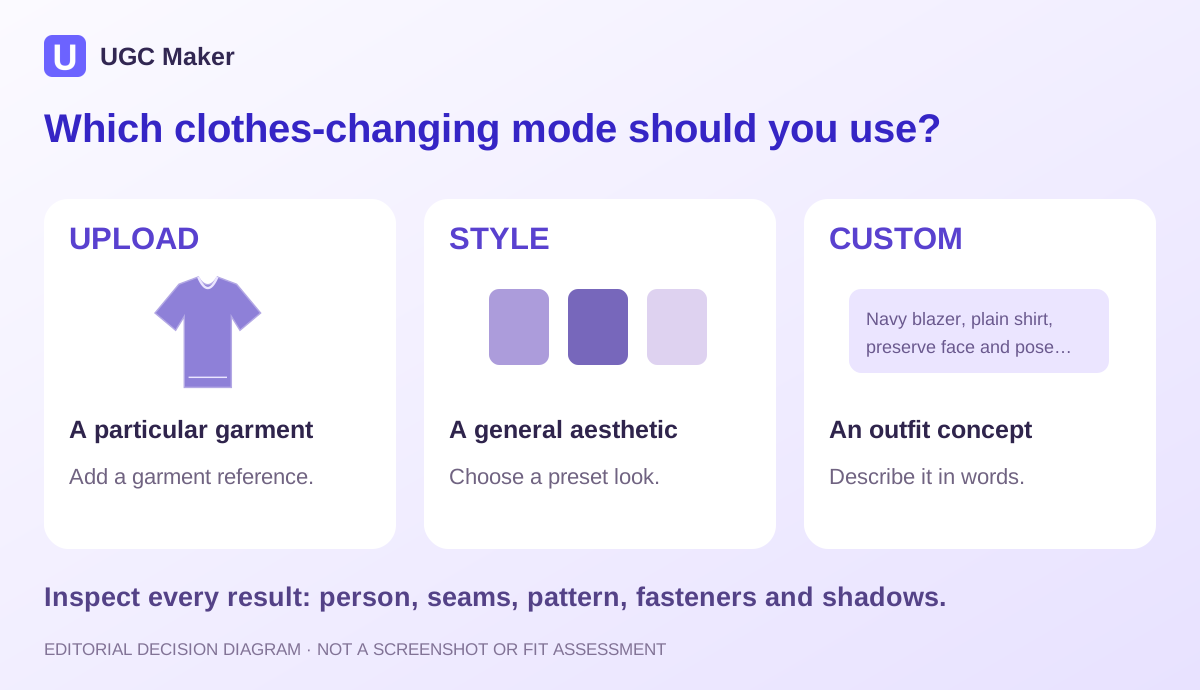
Editorial workflow diagram, not a product screenshot or a generated try-on result.
Step 1: Prepare the person and garment photos
Use a person photo you have permission to edit. Choose a frame that shows the full area you want to change. A head-and-shoulders portrait can support a jacket concept, but it cannot show whether full-length trousers look convincing.
For a first attempt, choose:
- A single, clearly visible person with enough detail to compare facial features afterward.
- A pose with the garment area visible. Crossed arms, long hair and bags introduce overlaps that you will need to inspect.
- A garment reference with a clear outline, readable pattern and visible collar, sleeves, pockets and closures.
- A view that suits the intended result. A front reference does not document the back of a jacket.
For product work, keep an approved garment photo beside the result. Do not rely on memory for button count, stripe direction or logo position.
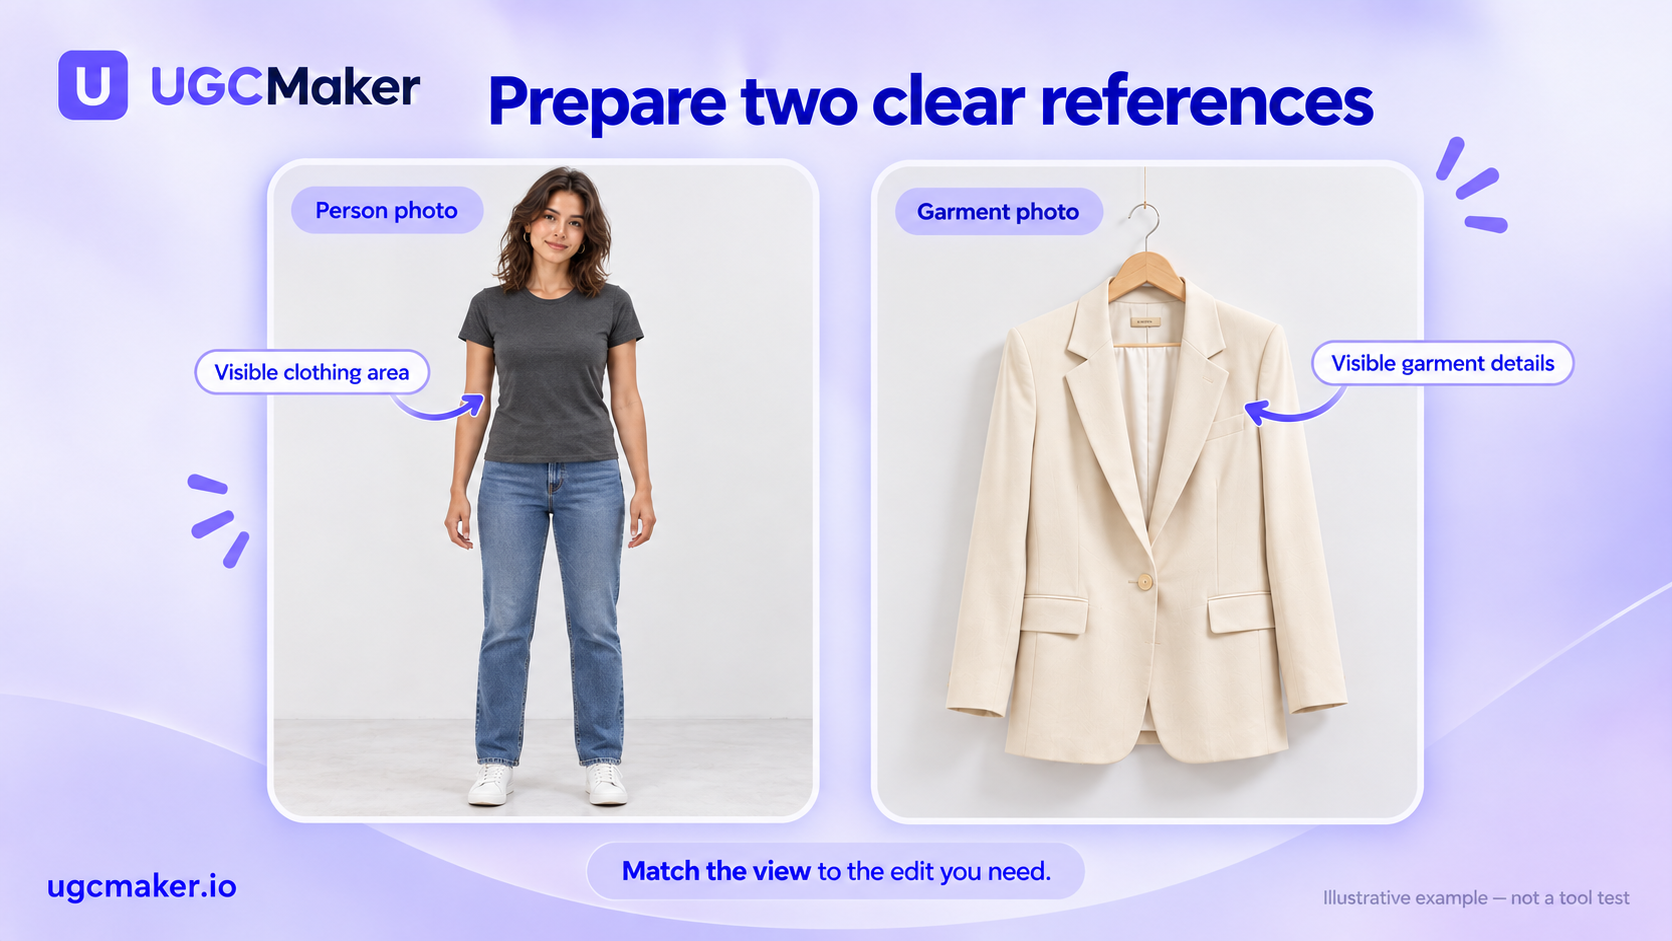
Illustrative input preparation: make the person and garment details visible before starting. These are example references, not uploaded test inputs.
Step 2: Upload the person photo
Open the AI Clothes Changer. In Person, use Drag or Upload Your Person Photo. The current upload controls accept JPG, JPEG, PNG and WebP files up to 16 MB each.
The page also offers Try a Model presets. Those can help you explore the controls, but use the intended person's photo when you need to assess whether their appearance is preserved.
Check that you uploaded the correct source before moving on. A garment-only image belongs in the clothes reference area, not in the person slot.
Step 3: Supply the outfit using one mode
Upload: for a specific garment
Choose Upload under Clothes, then add the garment image. The current controls support up to four garment references. Start with one clear reference for a single item so you can see how it is interpreted before adding complexity.
Reference images provide visual evidence, not a guarantee. A model may simplify a print, relocate a pocket or change the hem. For an ecommerce image, those are reasons to reject the result even if the overall outfit looks appealing.
Style: for preset exploration
Choose Style, inspect the available options and select one. Use this when a general aesthetic matters more than a specific item.
A preset is not a product catalog entry. Do not describe the generated outfit as the exact garment you sell unless you have checked that independently.
Custom: for a written outfit idea
Choose Custom, then enter a Custom Clothes Description. Specify the clothing type, color, material appearance and cut. Add a short instruction identifying what should stay unchanged.
For example:
Replace the visible outfit with a charcoal single-breasted blazer over a plain white crew-neck shirt. Use a restrained, everyday business-casual look. Preserve the person's face, hair, pose, hands and the original background. Add no logos or accessories.
This requests a concept; it does not identify a real blazer or assure the model will preserve every feature.
Step 4: Choose settings and review credits
Use the model selector and the available output controls. Aspect ratio and other options can vary by model. If you want to retain the original framing, use Auto where offered, or choose a supported ratio that matches your source.
Start with one output when evaluating a new source pair. Keep the model and framing consistent while you adjust a reference or description; otherwise, it is harder to tell which change helped.
Review the credit requirement before generating. Access depends on available credits, and insufficient credits can trigger a login or purchase prompt. Do not assume that opening the page establishes an unlimited free allowance.
Step 5: Generate a candidate and inspect it
Submit the request and open the result from Projects when it is available. Keep the source person and garment photos available for comparison.
| Inspect | Compare against | Reject or revise when |
|---|---|---|
| Face and hair | Person source | Identity, expression or hairline changes unexpectedly |
| Hands and overlapping objects | Person source | Fingers merge, an arm disappears or a strap crosses clothing incorrectly |
| Collar, cuffs and hem | Garment source | The cut changes or boundaries merge with skin |
| Pockets, buttons and zippers | Garment source | Their number or placement changes |
| Pattern and branding | Garment source | Text changes, motifs disappear or stripes fail across seams |
| Shadow and drape | Whole scene | Fabric appears pasted on or shadows conflict with the lighting |
Inspect the full image and then small details at 100%. A thumbnail can hide errors in lettering and seams.
For sales imagery, compare the color and construction with the real item as well. The generated picture may look natural without being an accurate representation of that garment.
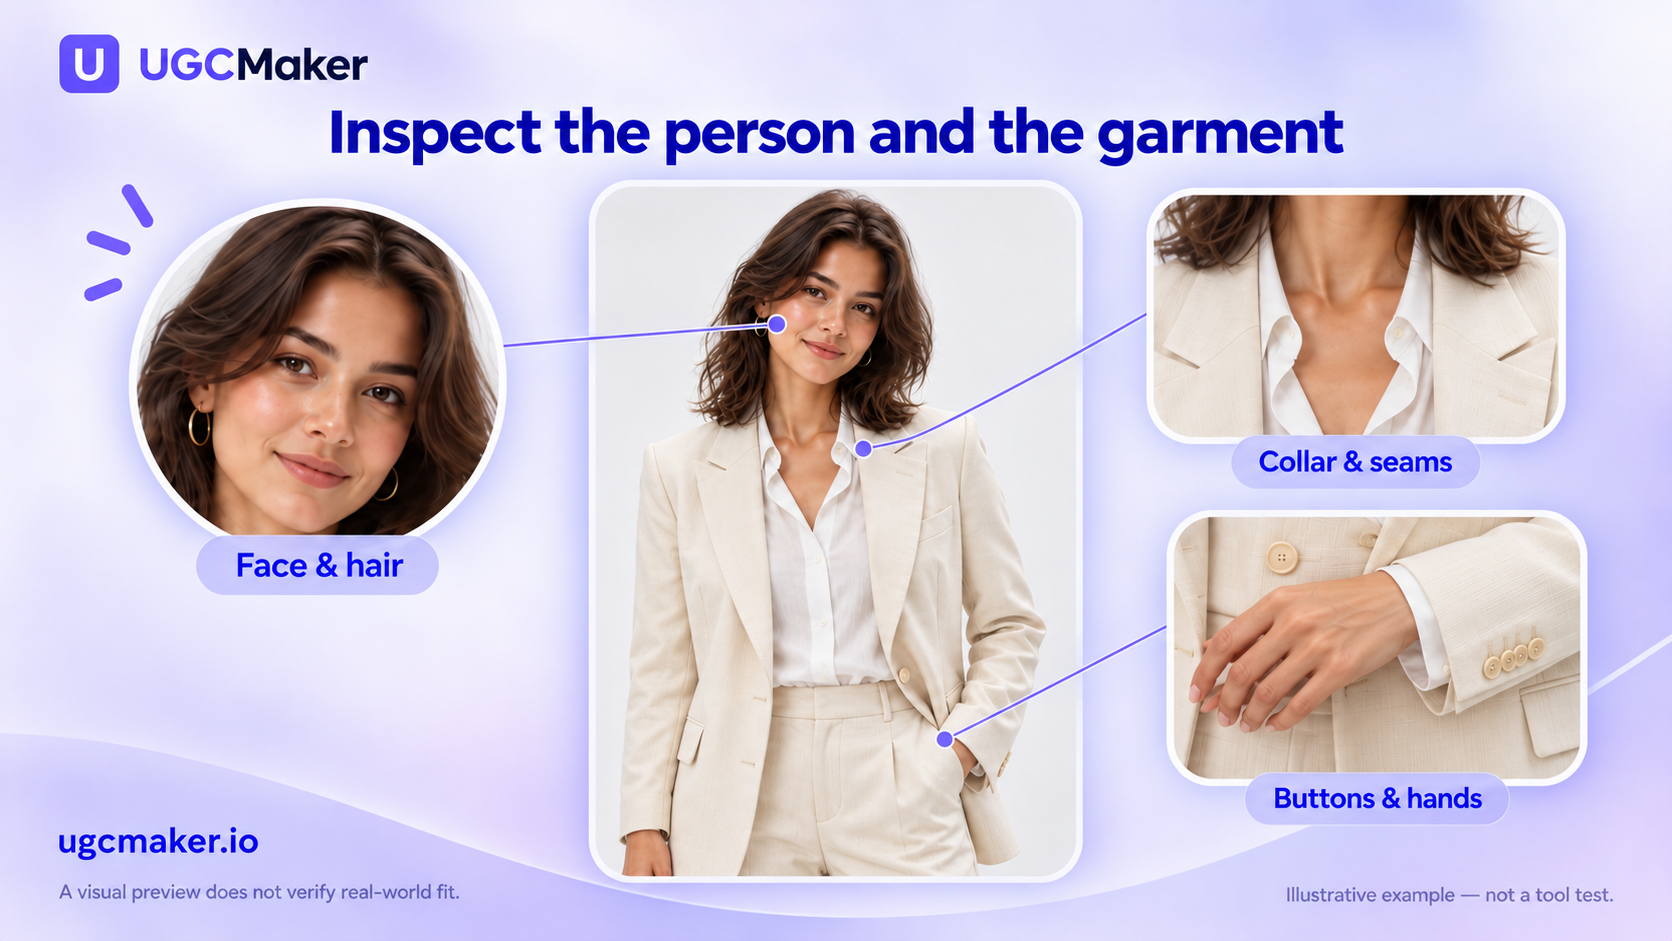
Inspection points to compare against your original photos. This illustration is not a generated tool result or evidence of real-world fit.
Step 6: Correct one problem at a time
Return to the original source when a generation changes the person or invents garment details. Repeatedly editing an already altered result can make it harder to identify what still matches the original.
| Problem | Try next |
|---|---|
| The outfit is plausible but does not match your item | Switch from a style or text concept to Upload, using the actual garment |
| The face changes | Try a clearer person source and a simpler outfit change; reject persistent identity drift |
| Hair or hands merge with fabric | Choose a source with fewer overlaps or finish a limited region with conventional editing |
| The print or logo changes | Use a clearer reference; if exact fidelity remains impossible, use real photography or compositing |
| The crop hides the clothing | Use a source showing the relevant body area and choose a suitable output ratio |
| Instructions seem ignored | Check that you are in Custom; its description is not an additional prompt for the other modes |
Do not treat more attempts as proof that the workflow can reproduce every garment. Reflective fabrics, translucent layers, complex prints and hidden areas all deserve close inspection.
Three outfit prompts to adapt
Use these in Custom for style exploration. They have not been tested against a controlled set of source photos.
A simple knitwear concept
Change the visible top to a plain forest-green crew-neck knit sweater with long sleeves. Keep the styling simple, without embroidery or printed text. Preserve the person's face, hair, hands, pose and background.
Inspect: The neckline and wrists should remain distinct from skin. Compare the face with the source before assessing the clothes.
A minimal outerwear concept
Replace the outer layer with a hip-length beige utility jacket with two visible front patch pockets. Keep the original trousers and shoes. Preserve the person's identity, body proportions, pose and background. Add no bag, hat or jewelry.
Inspect: Check that only the intended layer changed. A hidden portion of the outfit remains an AI interpretation.
A formal portrait concept
Replace the visible casual top with a dark navy suit jacket and a light blue button-front shirt. Keep the original head angle, facial expression, hair and background. Use understated styling without a tie, badge or new accessories.
Inspect: Compare shoulder width, collar boundaries and the face. Do not use an altered portrait where an unedited identification photo is required.
For background, light and canvas edits after you have accepted the outfit, see our product photo editing prompts. Keep those changes separate so the clothing comparison stays manageable.
Using the result for ecommerce
A styling preview is useful for exploring creative direction. A listing image needs to show the item being sold accurately. Keep the real product reference, and do not present a generated view as evidence of fabric performance, sizing or fit.
If the image is going into Google Merchant Center, review its image requirements, including metadata for generative AI images. Check your actual export and feed process; this tutorial does not establish automatic compliance.
Once the product representation is approved, the clothing ads guide can help with campaign ideas. Creative presentation comes after checking the garment details.
Frequently asked questions
Can AI change clothes without changing the face?
That is the intended editing task, but preservation is not guaranteed. Use a clear source, keep the outfit request focused and compare the face and hair at full size. Reject a candidate if the person's identity changes.
Do I need a clothing reference image?
Use one for a specific garment. Style and Custom can explore looks without a user-supplied garment photo, but the result should not be treated as an exact real-world product.
Can a clothes changer tell me which size to buy?
This workflow does not use body measurements and garment measurements to verify fit. Use the retailer's sizing information and real fitting evidence when choosing a size.
Can I replace only a shirt?
You can describe that limited change in Custom or supply a shirt reference in Upload, but inspect the rest of the image too. If exact preservation of every other pixel is essential, use a controlled masking and compositing workflow.
Where should I start?
Open the AI Clothes Changer with one clear person photo. Choose Upload for an actual garment or Custom for an outfit concept, then compare the first result with your sources before making more variations.