

TL;DR
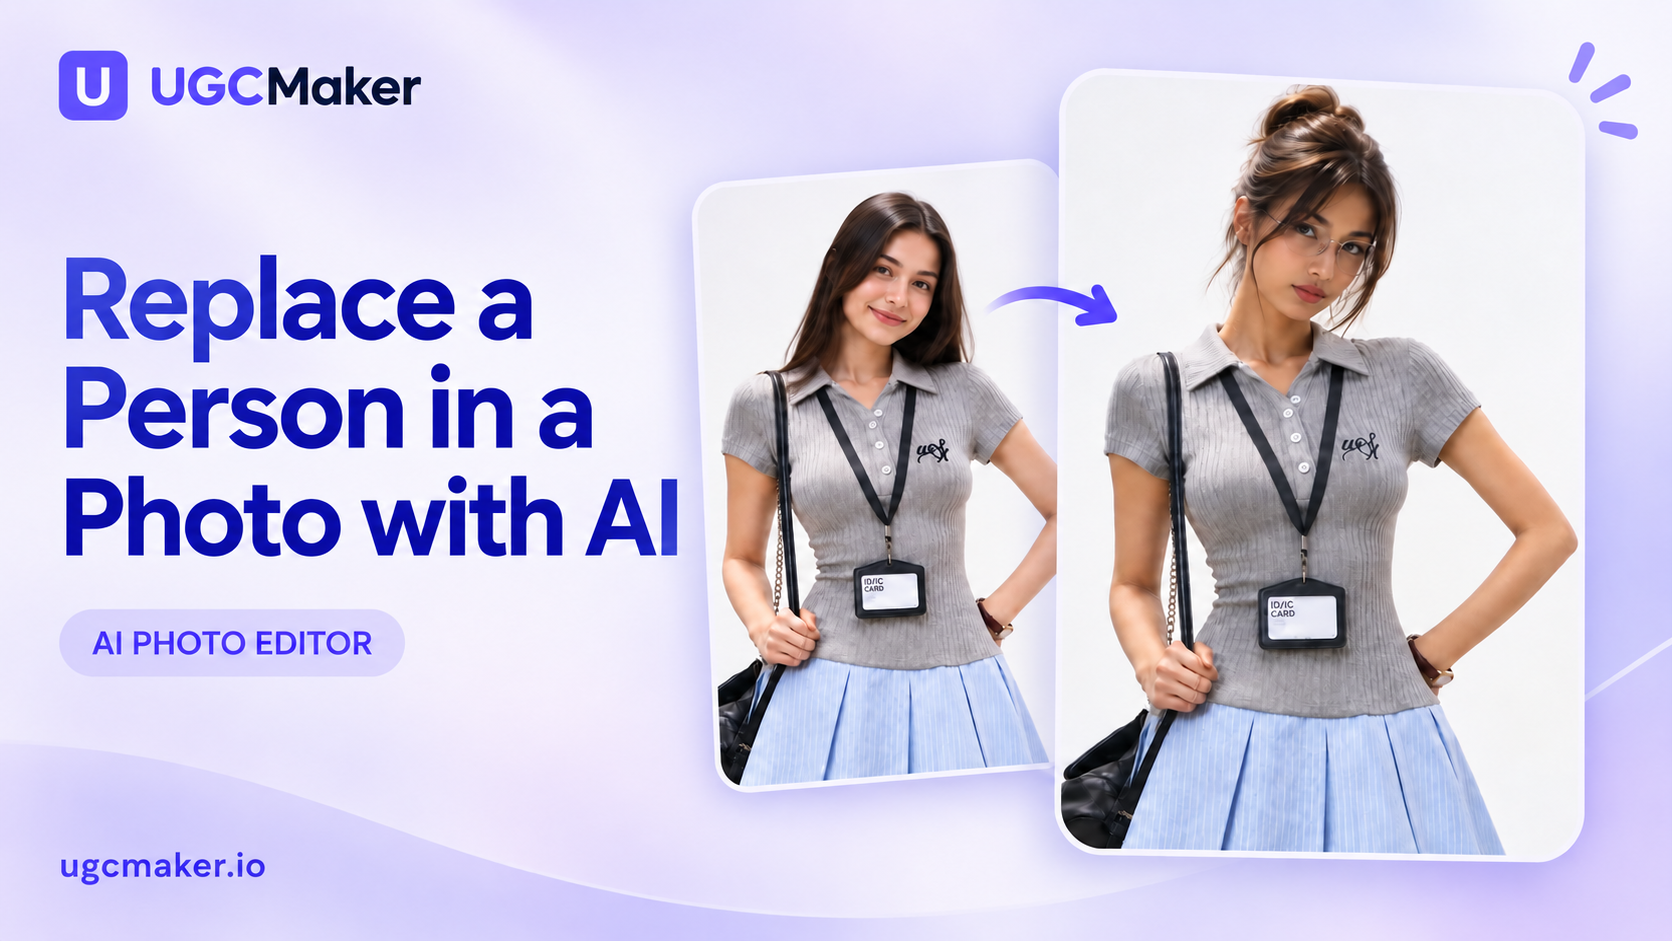
- Replace person in photo means changing the person in an existing image while keeping the source scene as the starting point.
- A search such as “change characteristic on photo no signing in” can describe a smaller edit, such as changing a face or hairstyle. This guide shows the more specific person-replacement workflow.
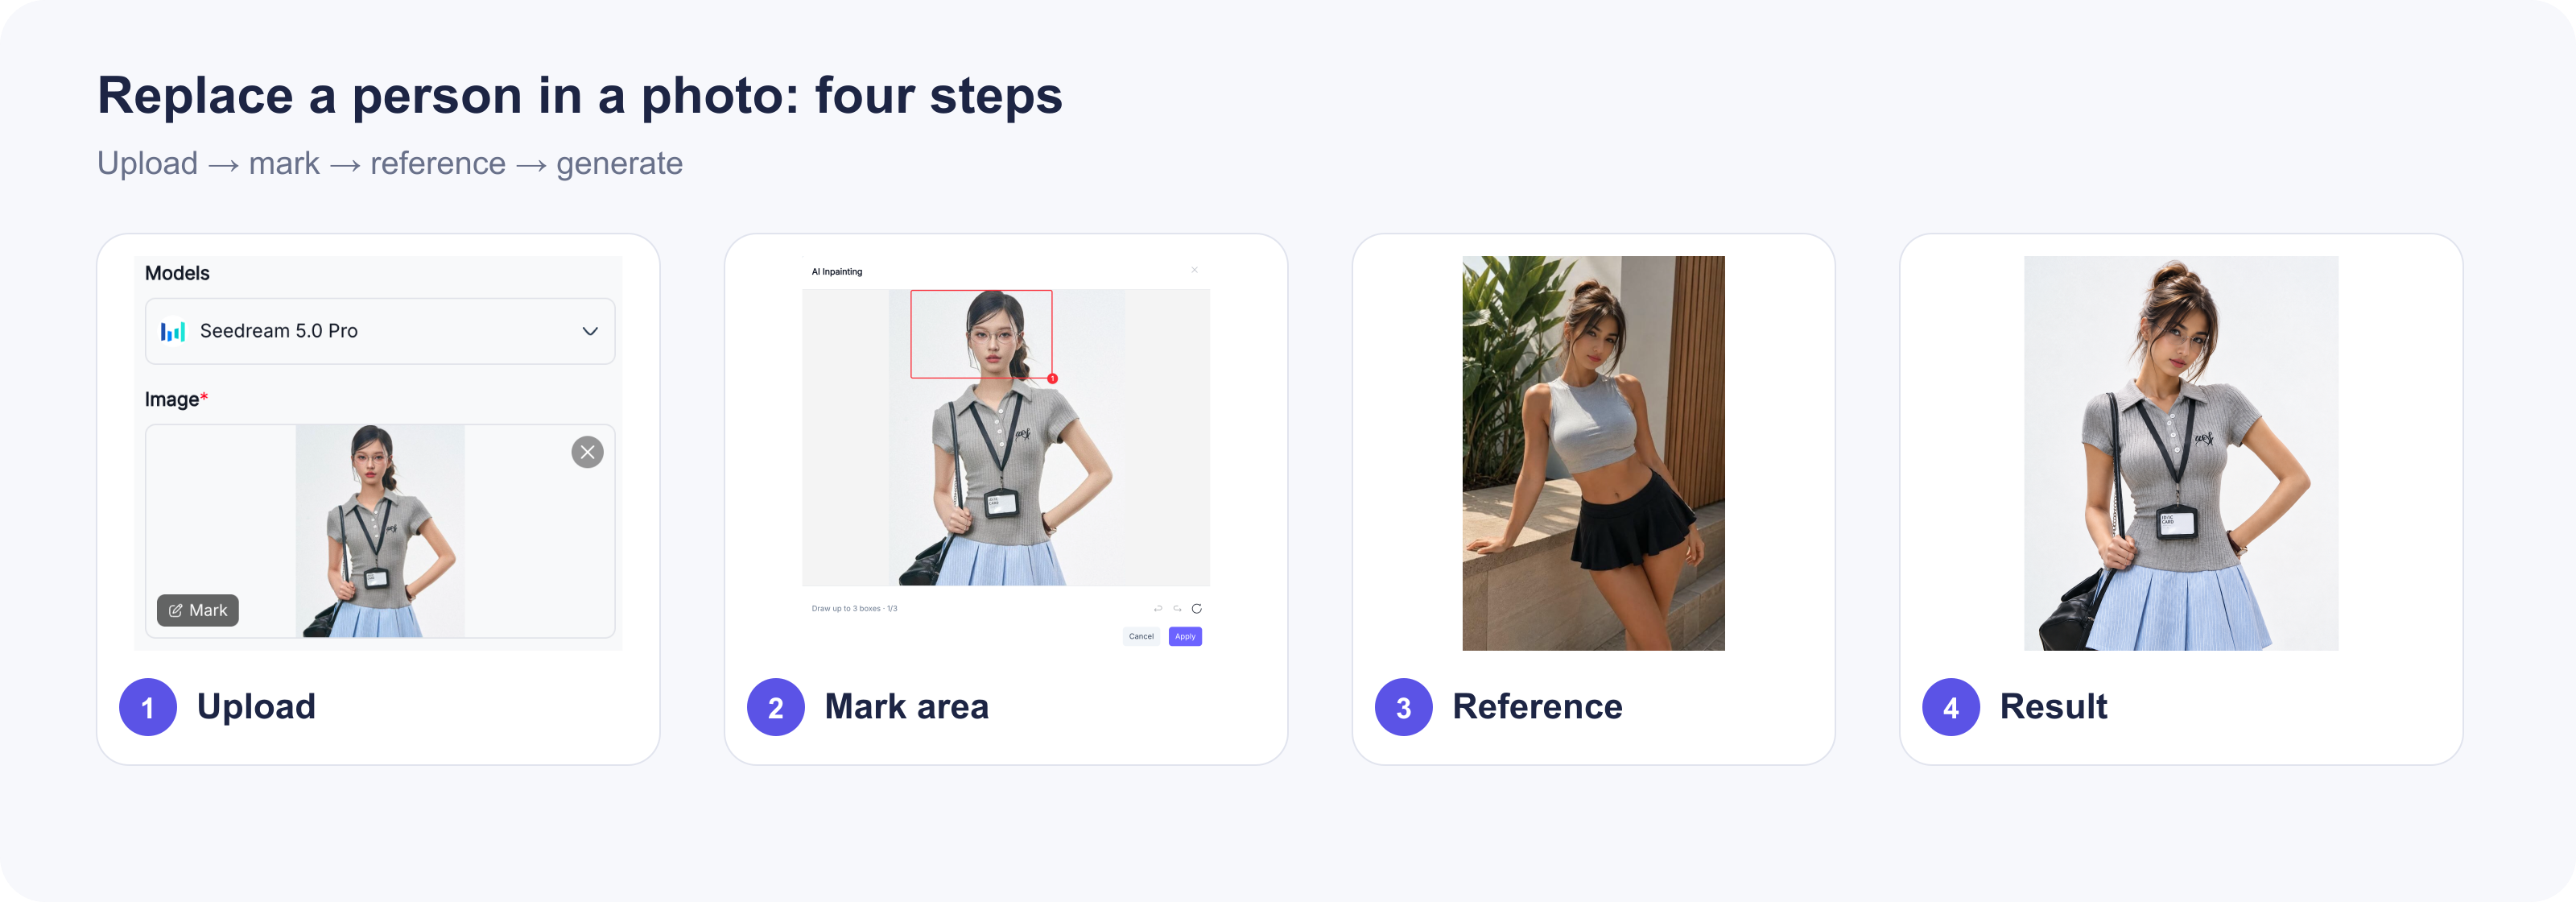
- In UGC Maker's AI Photo Editor, the practical sequence is upload the source photo, mark the area, add a reference model, write a prompt, and generate.
- Use this prompt as a starting point: “Replace the model in the image with the model from the specified reference image.”
- The example below changes the model's visible identity while retaining the original outfit, framing, and scene. Always inspect the result before using it commercially.
If you searched for “change characteristic on photo no signing in,” you may be trying to change one visible characteristic or replace the person in the image. Those are related tasks, but they are not identical. A characteristic edit might change hair color, facial expression, or clothing. A person replacement uses a second image as a reference for the new model.
This guide focuses on the second task: how to replace a person in a photo with a reference image, using a text prompt instead of a long manual retouching workflow.
What “change photo character” can mean
The wording change photo character is ambiguous. In image-editing searches, it can point to at least three different jobs:
| What the searcher wants | More precise wording | Typical input |
|---|---|---|
| Change one attribute of the existing person | Change a characteristic in a photo | One source image and a text instruction |
| Replace the person with somebody from another image | Replace a person in a photo | A source image plus a reference image |
| Restyle a real person as a fictional or illustrated figure | Turn a photo into a character | One source image plus a style instruction |
The phrase characteristic belongs to the first row. The workflow in this article uses the second row. Naming the task precisely helps the model understand whether it should make a local change or bring identity cues from another image.
What you need before you start
Prepare two images:
- The source photo: the composition you want to keep. In this example, it is a portrait of a model wearing a gray polo shirt, blue skirt, shoulder bag, and ID card.
- The reference model image: the photo that contains the person you want to place into the source composition. The reference image does not need to match the source pose exactly, but similar framing and lighting can make the result easier to guide.
Use images you own or have permission to edit. If the result will be used in an advertisement, catalogue, or client project, confirm that you also have permission to use the reference person's likeness.
How to replace a person in a photo with AI
1. Upload the source photo
Open UGC Maker's AI Photo Editor and upload the image whose composition you want to preserve. The first screenshot shows the source portrait loaded in the editor. The model selector in this example displays Seedream 5.0 Pro; the available model list can change as the product evolves.
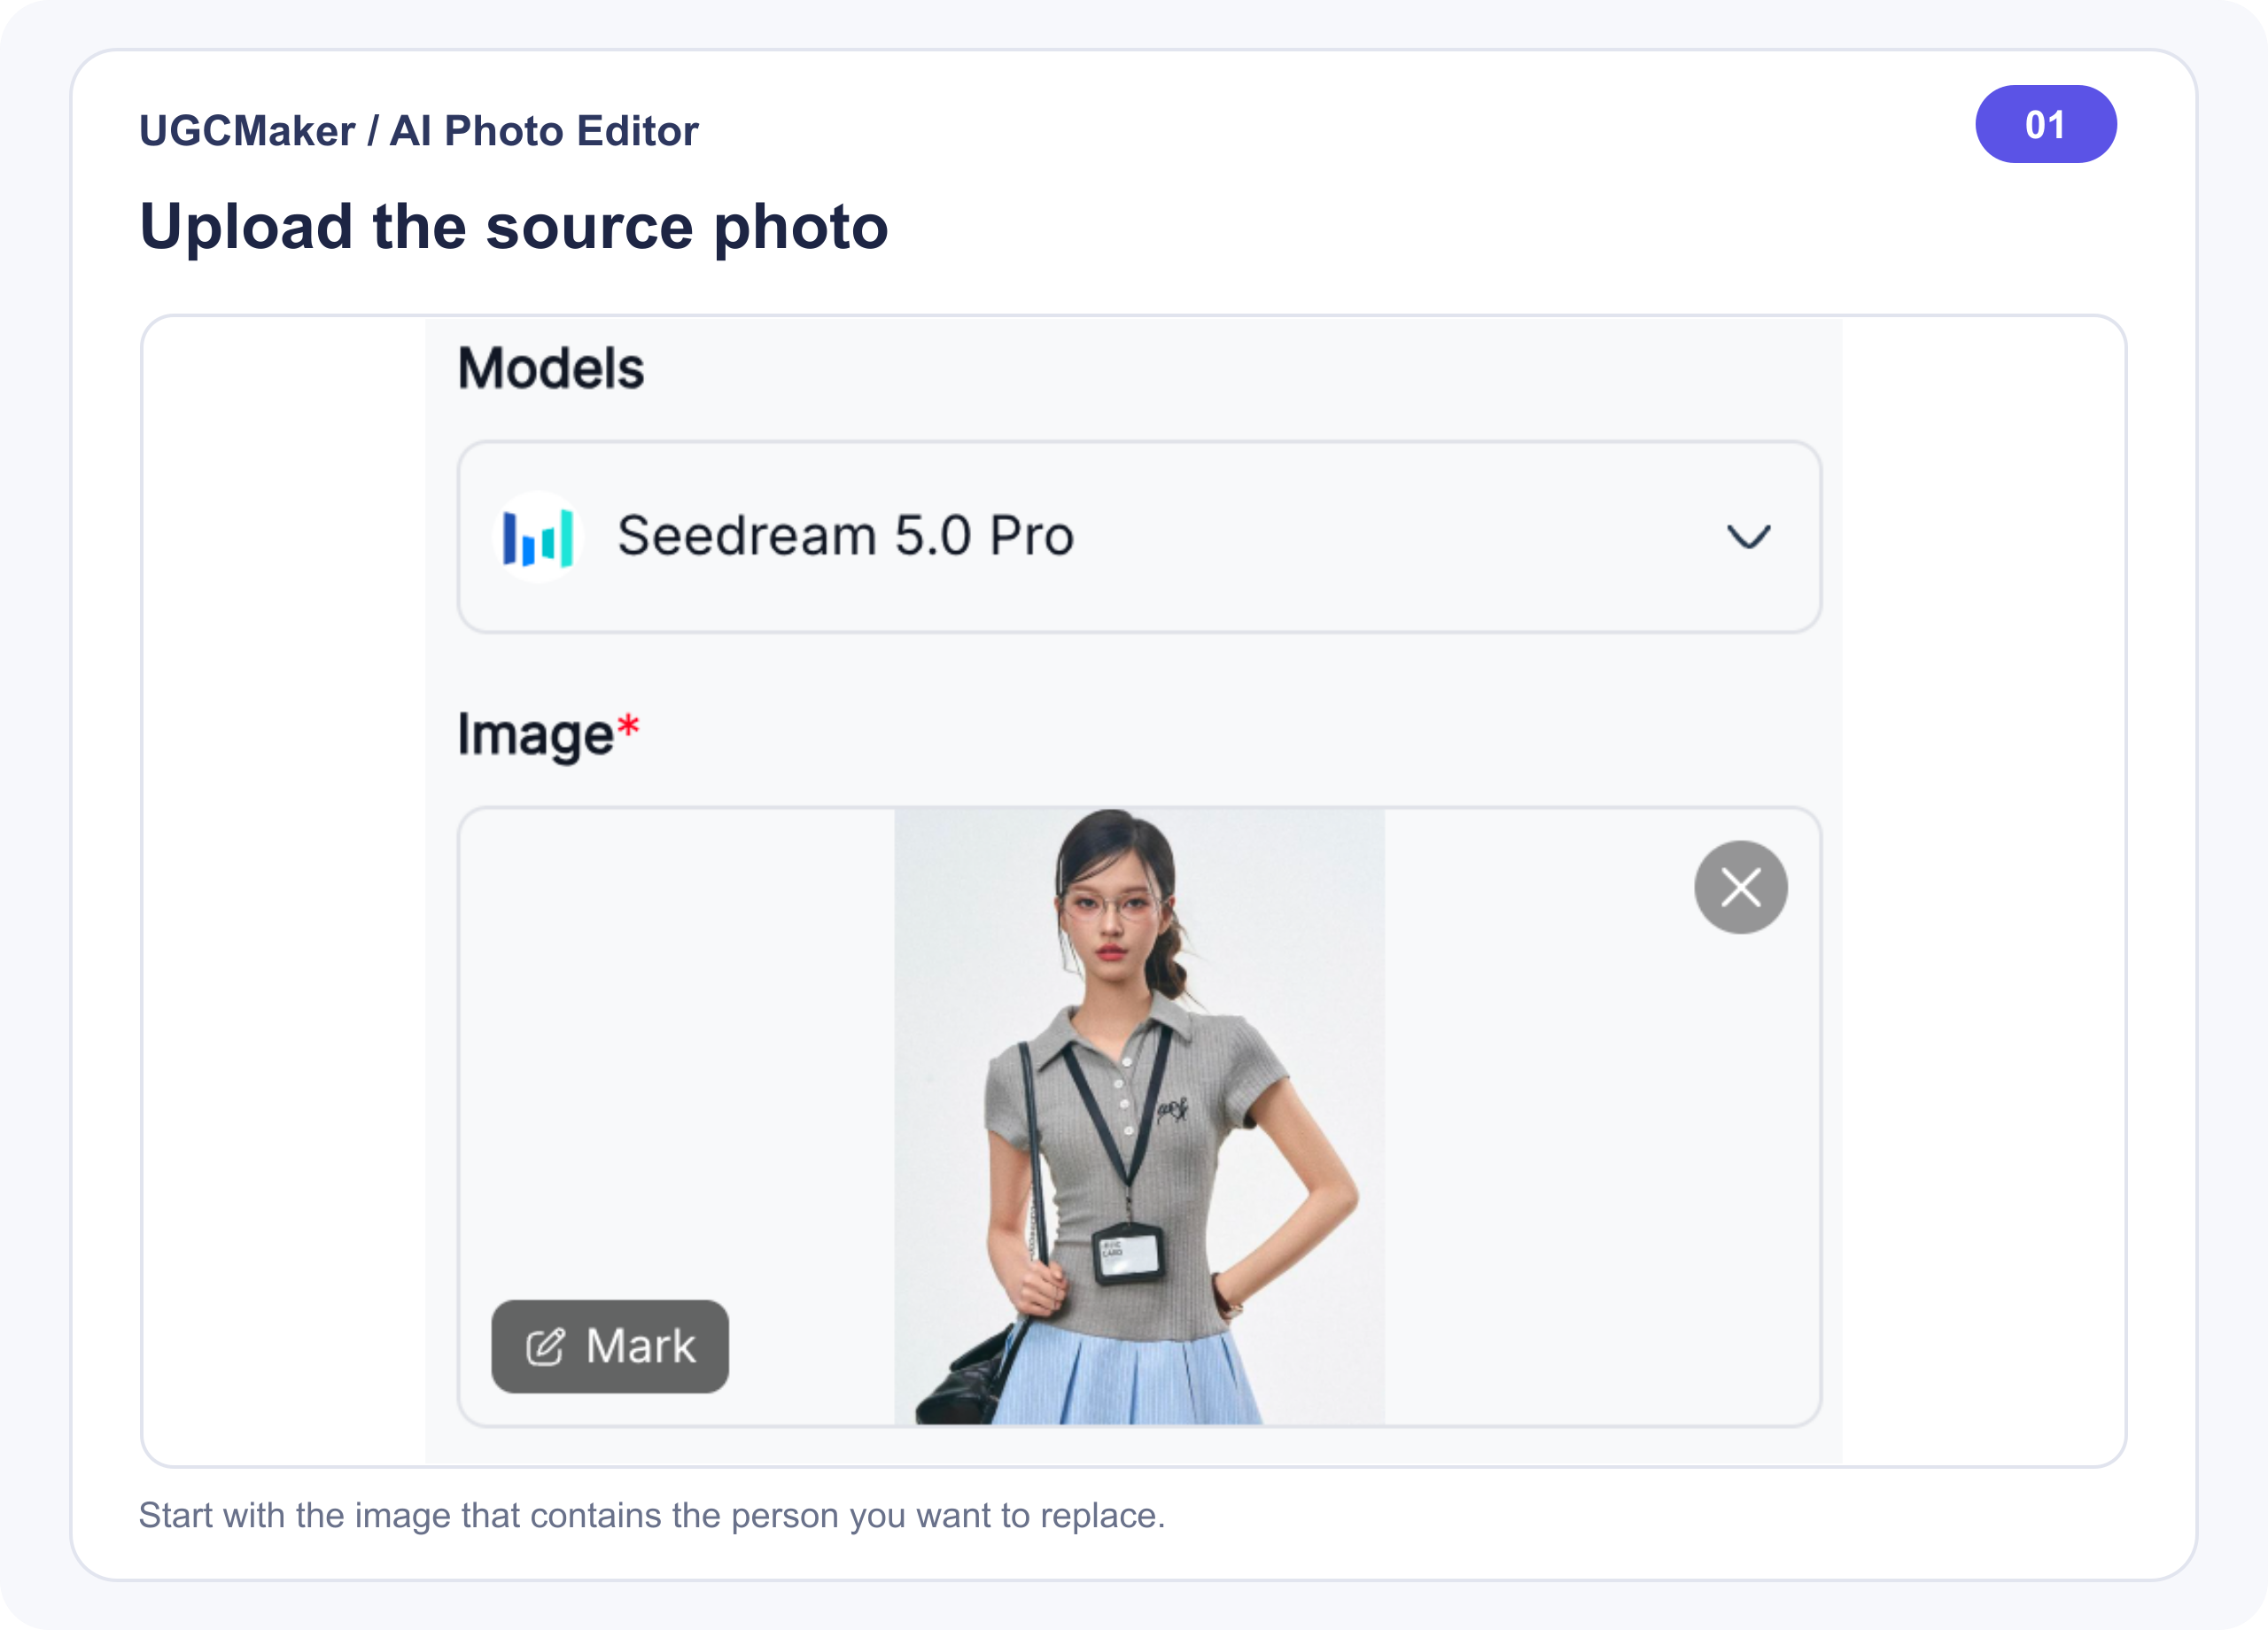
At this stage, check the crop, camera angle, background, and clothing. These are the visual elements you may want the generated image to keep.
2. Mark the person or area to replace
Choose the editor's inpainting or marking control, then draw a box over the part of the image that should change. In the example, the marked area covers the original model's face and hair rather than the entire body.
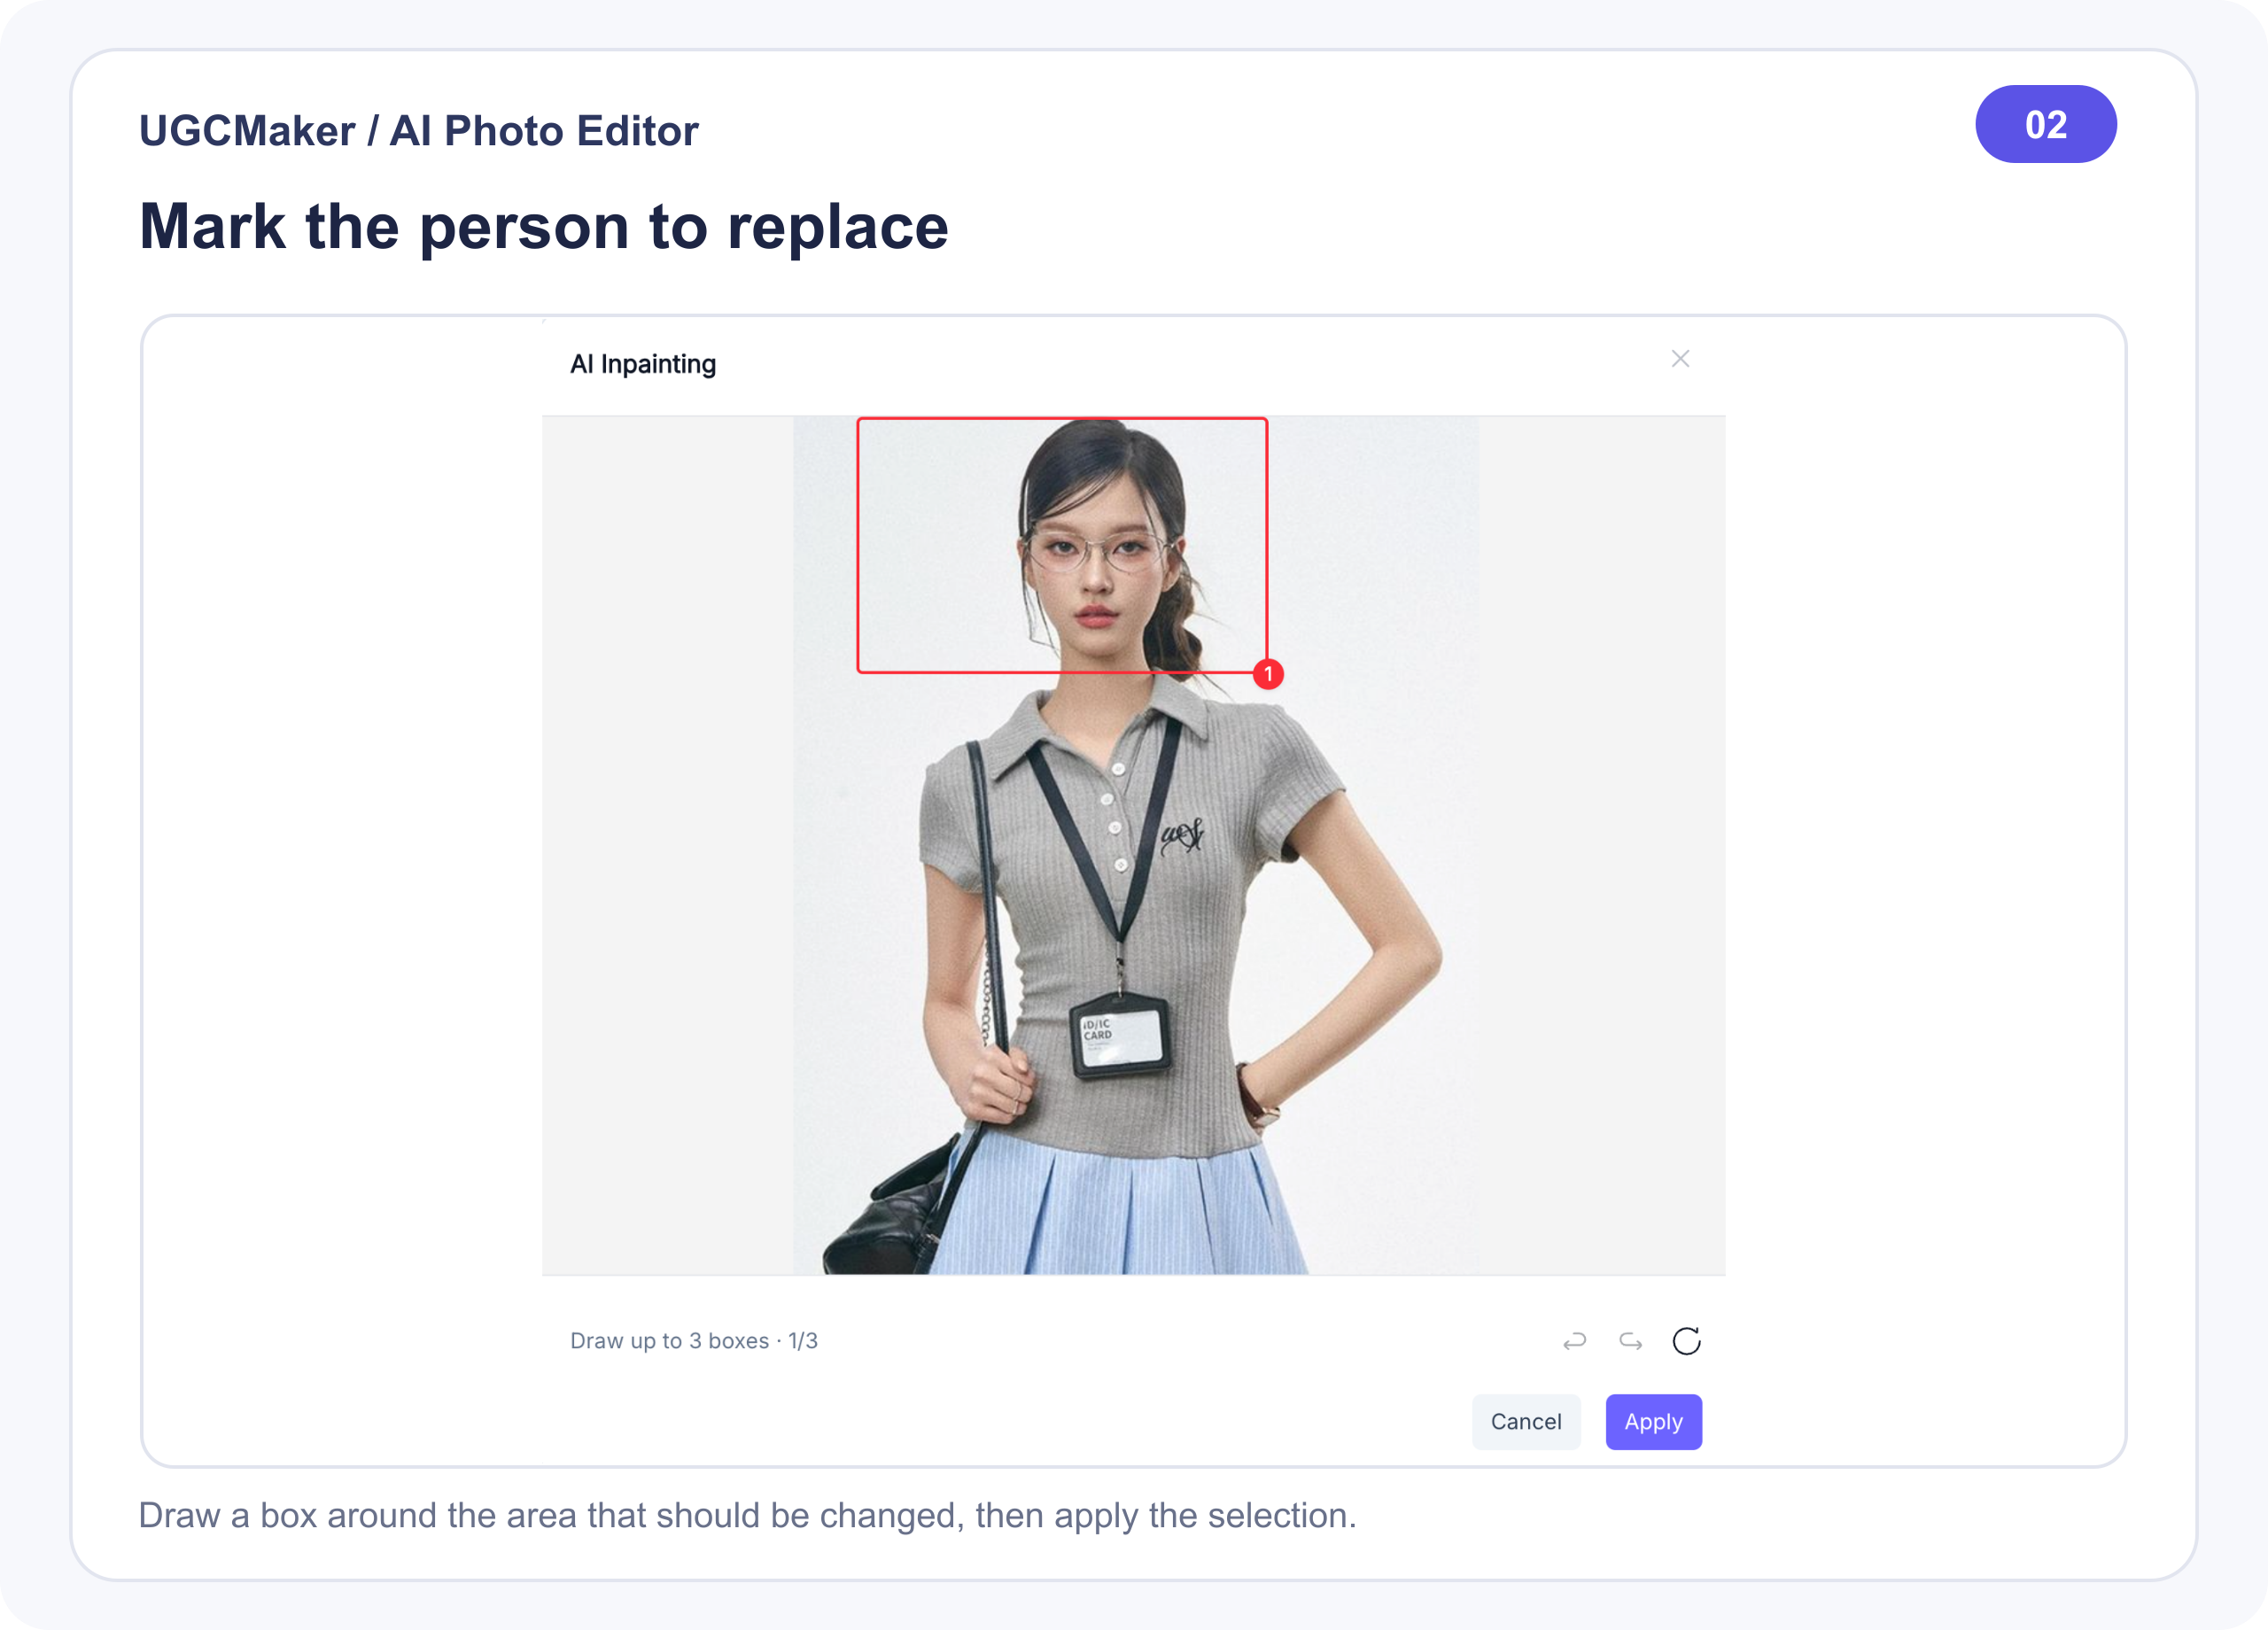
This selection changes the scope of the edit. A face-and-hair selection is useful when you want to keep the original pose, clothes, and body position. If you need to replace a full body, extend the selection to cover the full subject and use a reference image with a compatible pose.
Click Apply after checking the selection. A tight, intentional selection usually gives the model less room to alter unrelated parts of the photo.
3. Add the reference model
Upload the second image that shows the model you want to use. This is a reference image, not a new background. In the supplied example, the reference model is photographed outdoors in a gray top and black skirt.
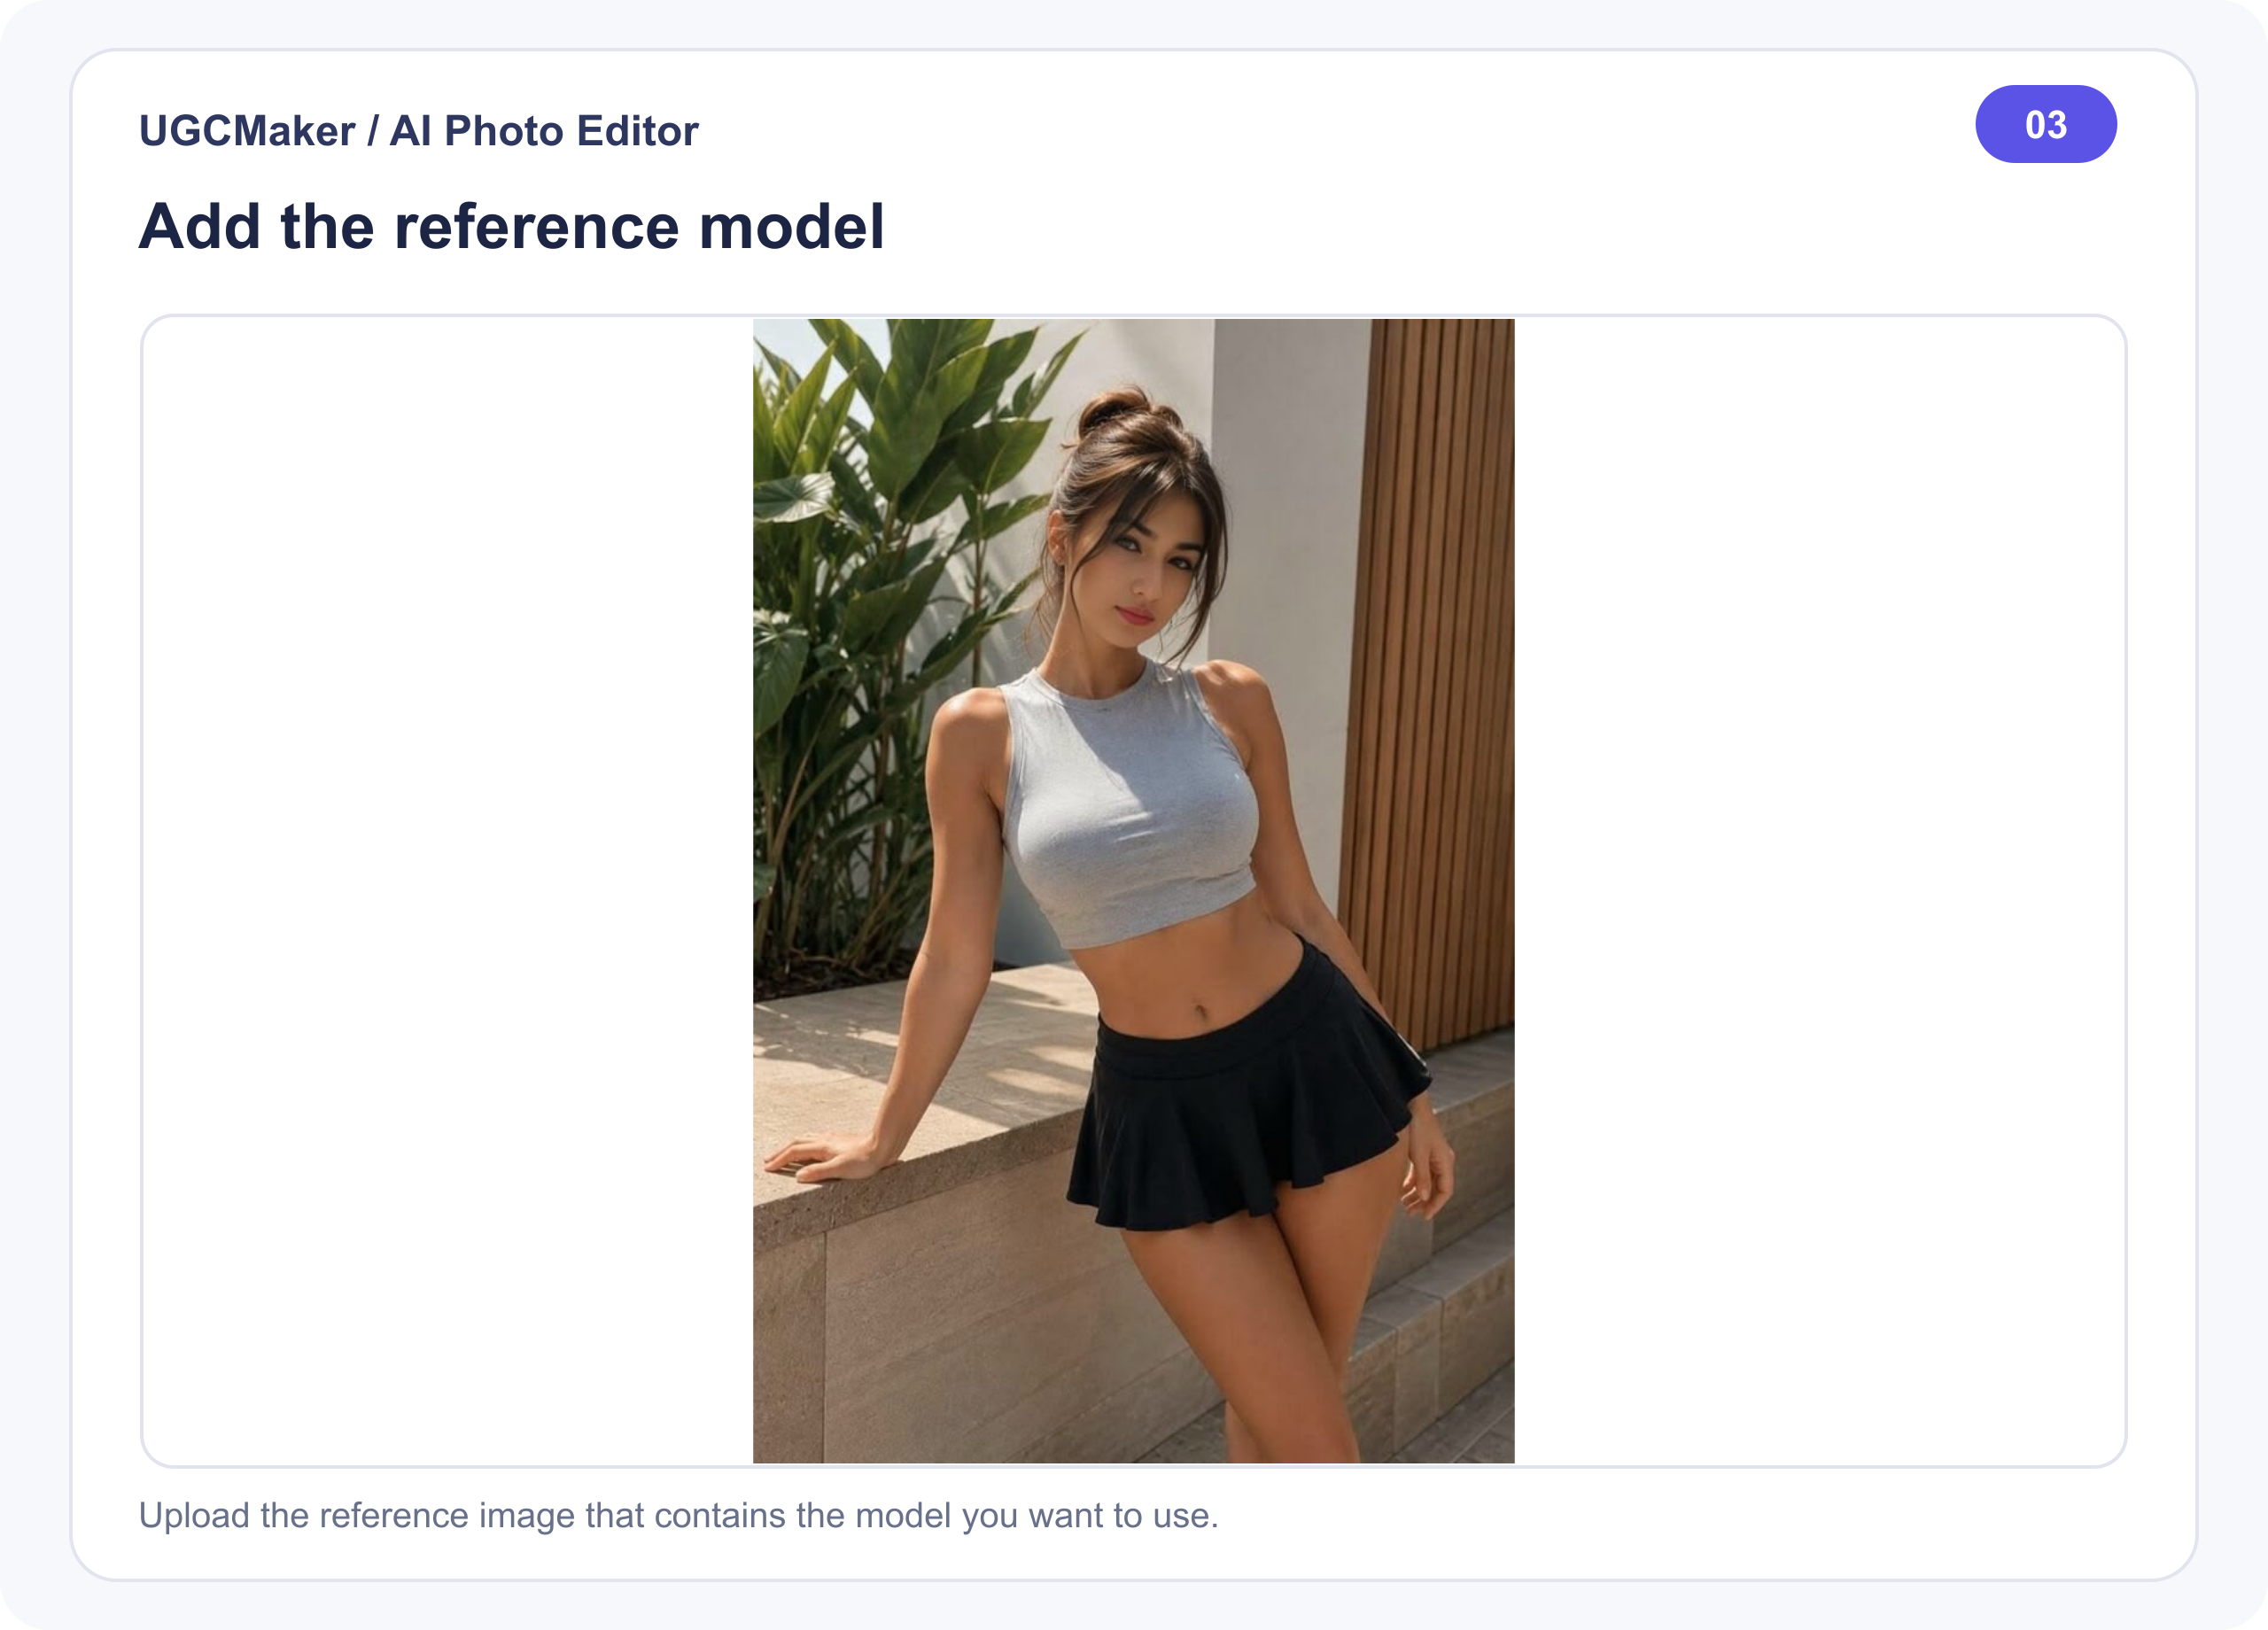
The reference image gives the model identity and appearance cues such as facial structure, hairstyle, and skin tone. It does not automatically determine the final pose, crop, or clothing. Those choices come from the source image, your marked area, and the prompt.
4. Write a direct replacement prompt
Start with a sentence that names the source subject, the reference, and the intended change. The literal English version of the requested instruction is:
“Replace the model in the image with the model from the specified reference image.”
For more control, use a bounded version that states which parts should remain stable:
“Replace the model in the image with the model from the specified reference image. Keep the original outfit, pose, camera angle, background, lighting, and composition unchanged. Match the reference model's facial features and hairstyle naturally.”
The first sentence is useful when the marked area already makes the target obvious. The longer version is useful when the model is changing too many details. Avoid packing several unrelated edits into the same prompt; first complete the replacement, then run a separate pass for color, lighting, or background changes.
5. Generate and inspect the result
Submit the prompt and compare the output with the source and reference images. In this example, the generated result uses the reference model's face and hairstyle while retaining the source image's portrait framing, gray outfit, shoulder bag, ID card, and light background.
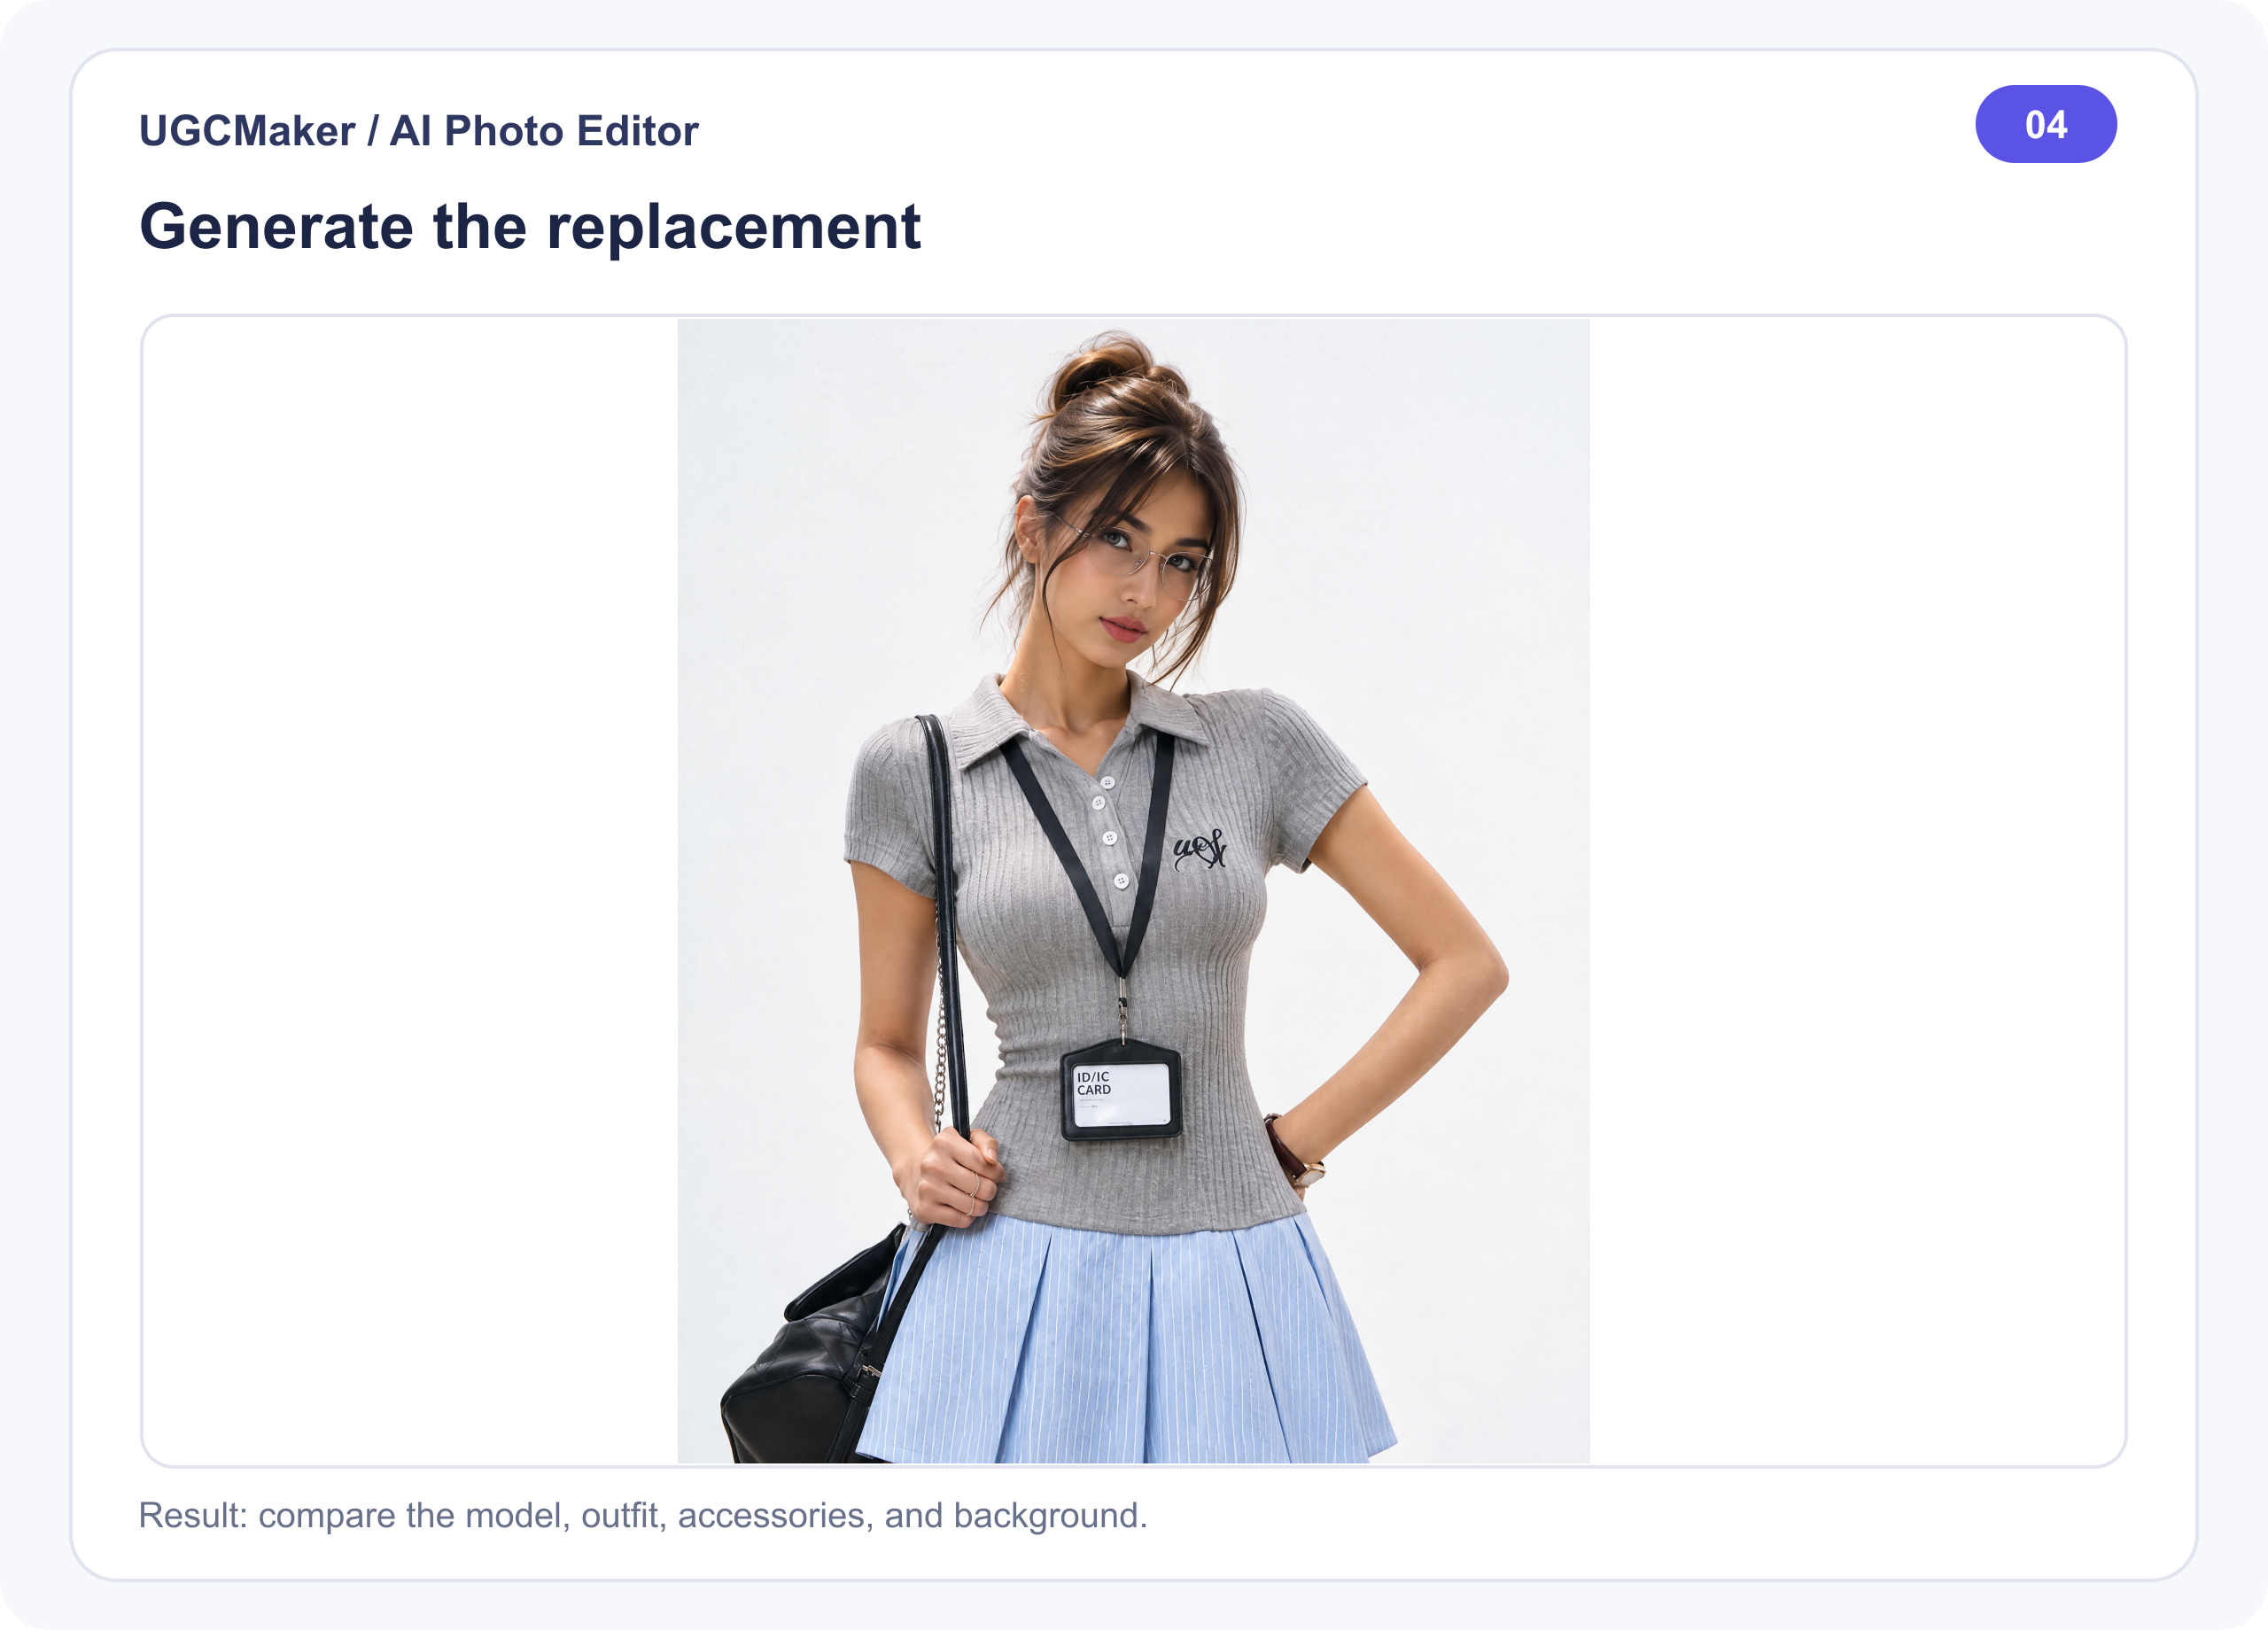
Check the following areas at 100% zoom:
- Face and hair: Does the result resemble the reference model without introducing a second face or inconsistent hair edges?
- Selection boundary: Are the neck, ears, shoulders, and hairline blended into the source scene?
- Clothing and accessories: Did the original shirt, bag, lanyard, and ID card stay accurate?
- Lighting and skin tone: Does the new model match the light direction and color temperature of the source?
- Background: Did the editor change parts of the scene outside the marked area?
If the output changes too much, tighten the selection and restate the elements to preserve. If the reference identity is weak, use a clearer reference image with a visible face and comparable angle.
How to get a cleaner person replacement
Use a clear reference. A well-lit image with an unobstructed face gives the model more useful identity information than a small, blurry, or heavily filtered selfie.
Match the camera angle. A front-facing reference is easier to apply to a front-facing source than a profile reference. When the angles differ, describe the desired pose rather than expecting a perfect transfer.
Select enough context. A face-only selection can preserve more of the original body and clothing, but it may leave mismatched hair, ears, or neck edges. Expand the selection slightly when those boundaries look unnatural.
Change one thing at a time. First replace the person. Then adjust the background, lighting, or garment in separate edits. This makes it easier to identify which instruction caused an unwanted change.
Compare at the final size. A result that looks convincing as a thumbnail may show obvious seams when enlarged. Review both the whole composition and important details before downloading or publishing.
Replace a person vs. change a characteristic
These phrases should not be treated as exact synonyms:
- Change a characteristic in a photo: “Change the hair color to dark brown while keeping the face and clothing unchanged.”
- Replace a person in a photo: “Replace the model with the person from the reference image while keeping the scene unchanged.”
- Change a photo character: can describe either task, so it needs a clarifying sentence or a reference image.
If you only need to adjust hair color, expression, or clothing color, start with a smaller marked area and a characteristic-specific prompt. If you need the person to resemble someone in another image, use the reference-image workflow shown here.
FAQ
Can I replace a person in a photo without signing in?
UGC Maker's AI Photo Editor is designed to let you start the editing workflow without a sign-up step. The exact model availability, generation limits, and export controls can change, so follow the current interface if it presents a model-specific requirement.
Is “change characteristic on photo no signing in” the same as “replace person in photo”?
No. The first phrase can mean changing a single visual attribute. Replace person in photo is the more precise phrase when a second image supplies the new model's identity or appearance.
Do I need a second image to replace a person?
For a reference-based replacement, yes. A second image gives the editor visual information about the person to insert. Without one, the model can still attempt a text-guided transformation, but the result is a new interpretation rather than a controlled reference replacement.
Why did the editor change the background or clothing too?
The selection may include too much or the prompt may leave the preservation requirements unclear. Mark only the intended replacement area, then explicitly ask the editor to keep the original outfit, pose, background, lighting, and composition unchanged.
Can I use the result in an ad or product listing?
Review the image rights, reference-person permission, and the current product terms before commercial use. Also verify that product labels, logos, identity cues, and other details remain accurate; AI editing can create plausible but incorrect details.
Final takeaway
To replace a person in a photo, separate the job into four decisions: choose the source composition, mark the exact area, provide a clear reference model, and write a prompt that says what must stay unchanged. Start with “Replace the model in the image with the model from the specified reference image”, then add preservation details only when the output needs tighter control. Open the AI Photo Editor to try the workflow, or read how to make an avatar from a photo when your goal is a stylized avatar rather than a person replacement.