
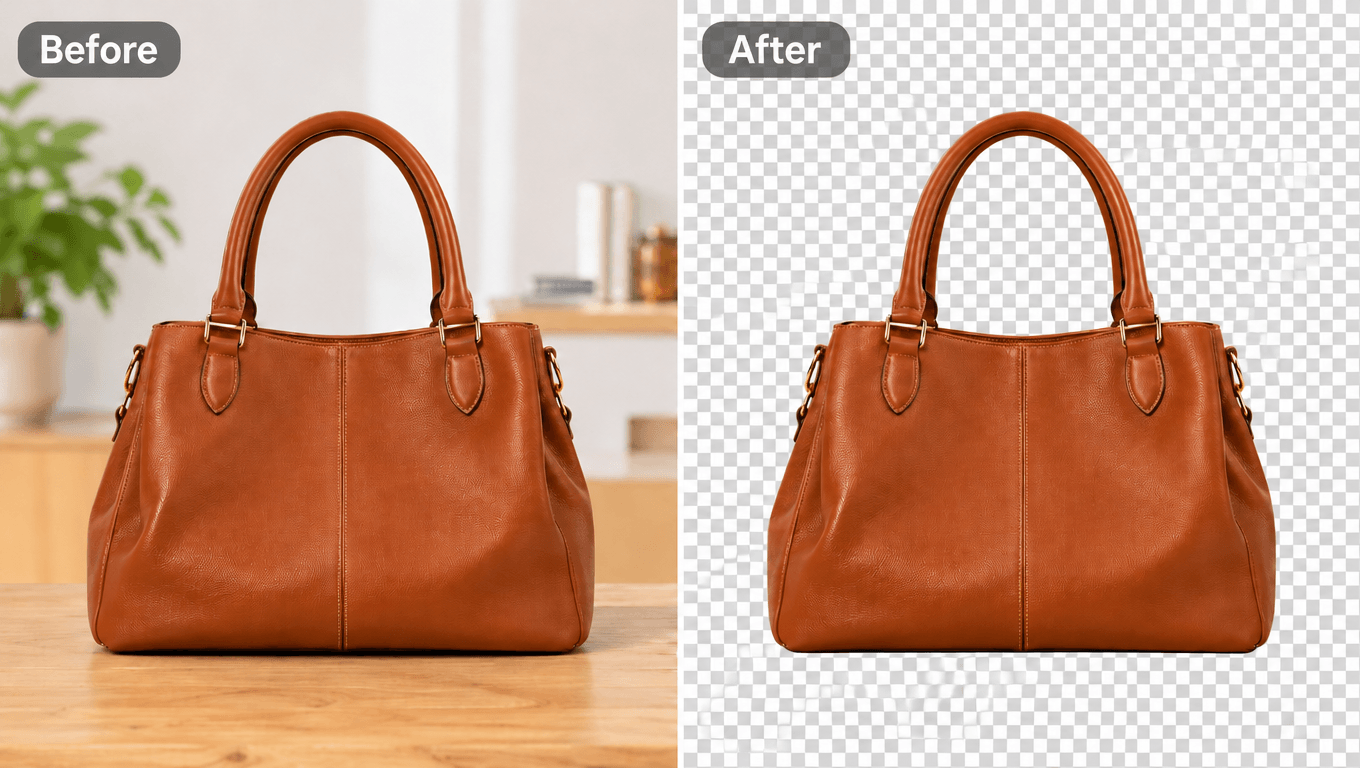

Transparent Background Maker
Make product backgrounds transparent or replace them for your online store with UGC Maker's Transparent Background Maker.
What Is a Transparent Background Maker?
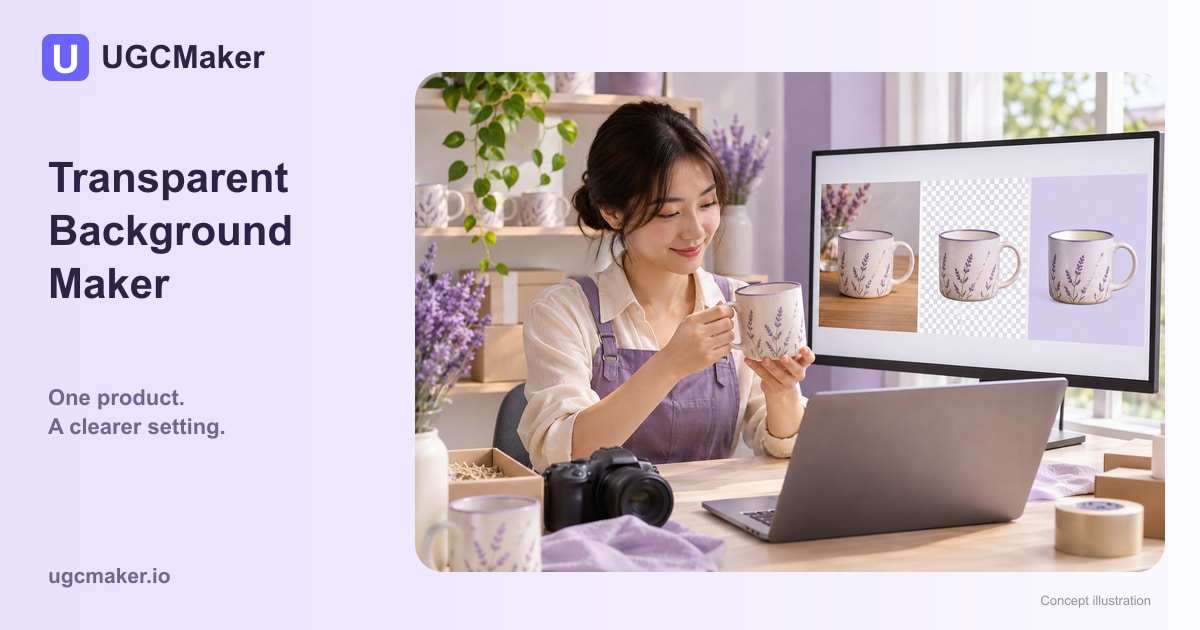
A Transparent Background Maker separates a product from its surroundings so you can remove the backdrop or replace it for a different layout. This transparent background image editor keeps the task focused on the setting around the item. Use the Transparent Background Maker from UGCMaker to prepare product photos for store pages and advertising, while reviewing the outline, proportions, and visible product details before publishing.
When the Background Distracts From the Product
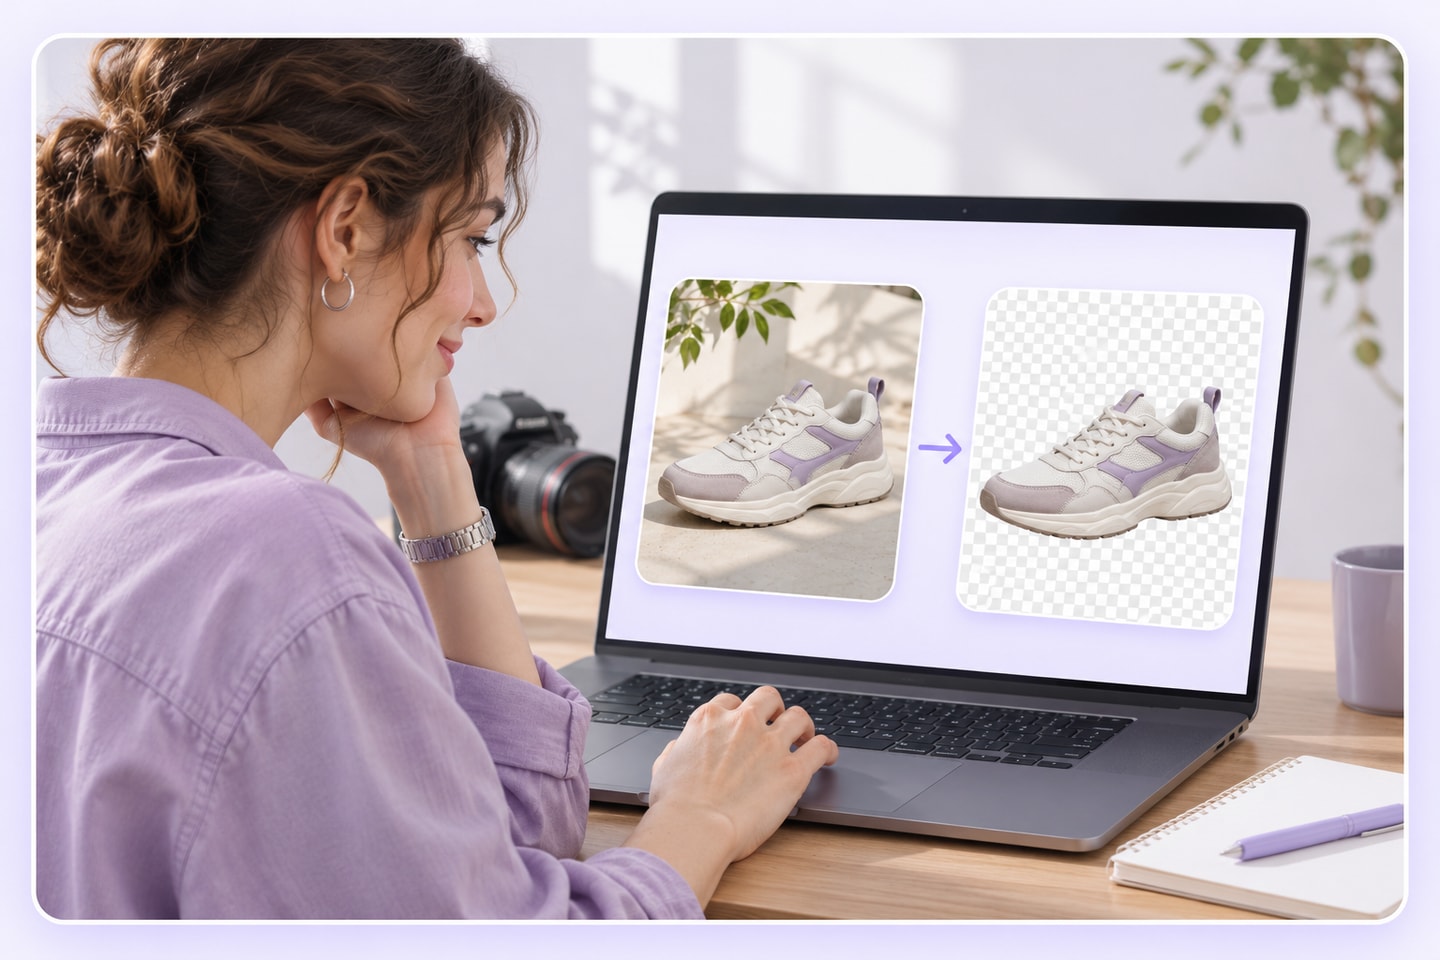
A Transparent Background Maker is useful when the setting, rather than the product, determines how an image looks. These common problems can make otherwise useful photos difficult to place in a consistent storefront.
Clutter competes for attention
Packaging, cables, and furniture can pull attention away from the item you want to sell. A simpler backdrop gives the product a clearer place in the composition.

Mixed backdrops disrupt a collection
Photos taken in different rooms can look unrelated when displayed together. Plan a shared background direction before editing a group of product images.
An opaque box limits placement
A white rectangle can interrupt a colored banner. When you need a reusable cutout, background removal solves a different problem from simply choosing a white backdrop.
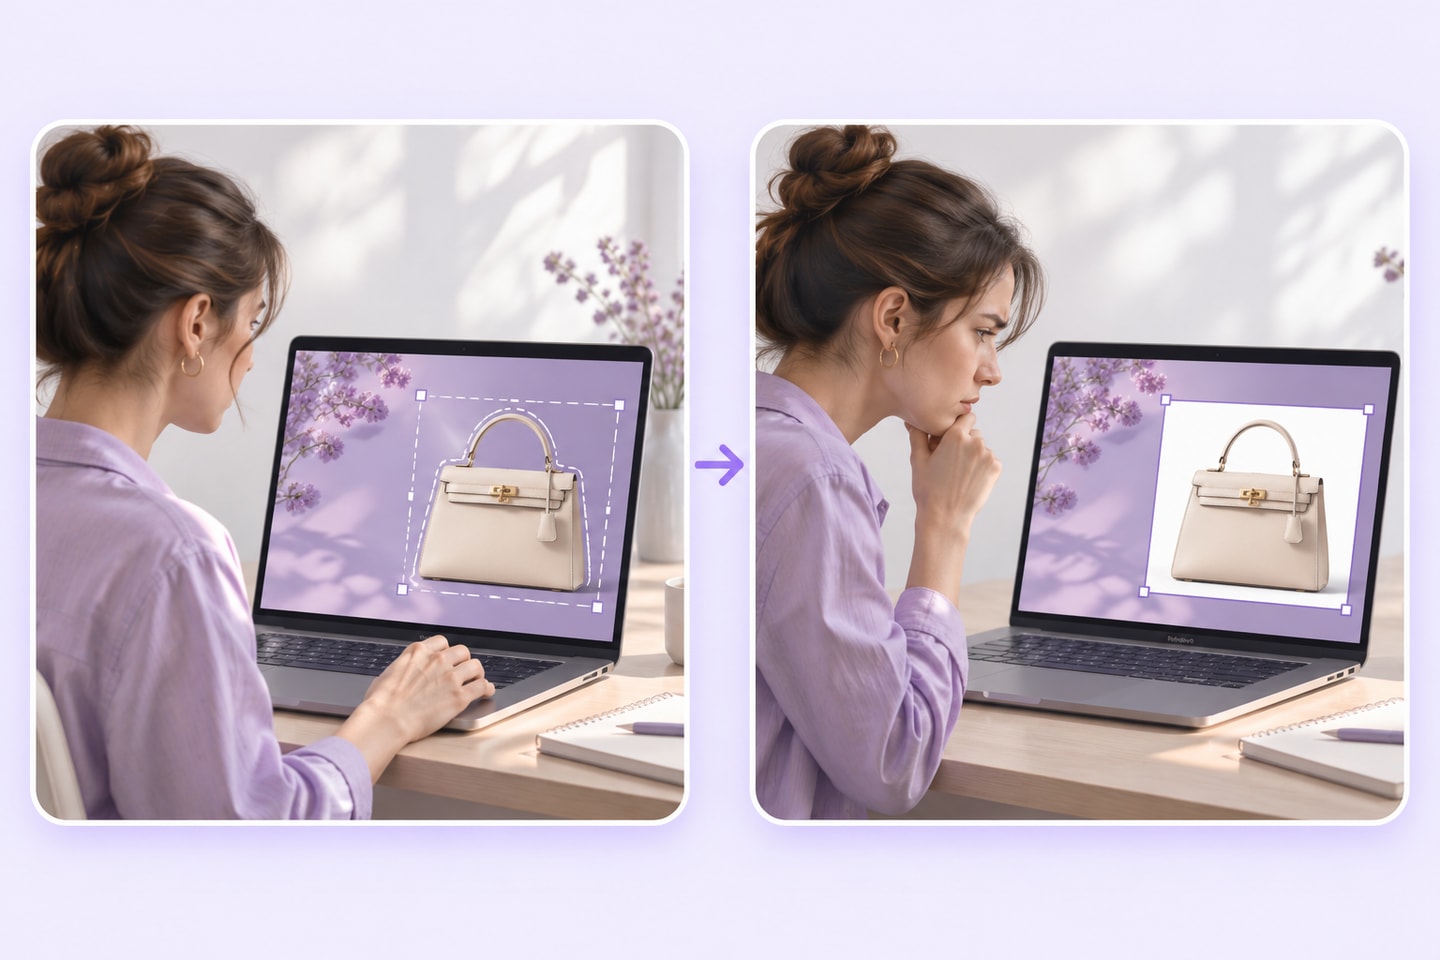
Remove or Replace Product Backgrounds
Use the Transparent Background Maker for the background task you actually need. Removal prepares an isolated subject; replacement gives that subject a new setting. Neither choice should change what the product is.
Make background transparent
Remove the surrounding scene when you want to place the product in a separate composition. Inspect handles, straps, and gaps before reusing the cutout.
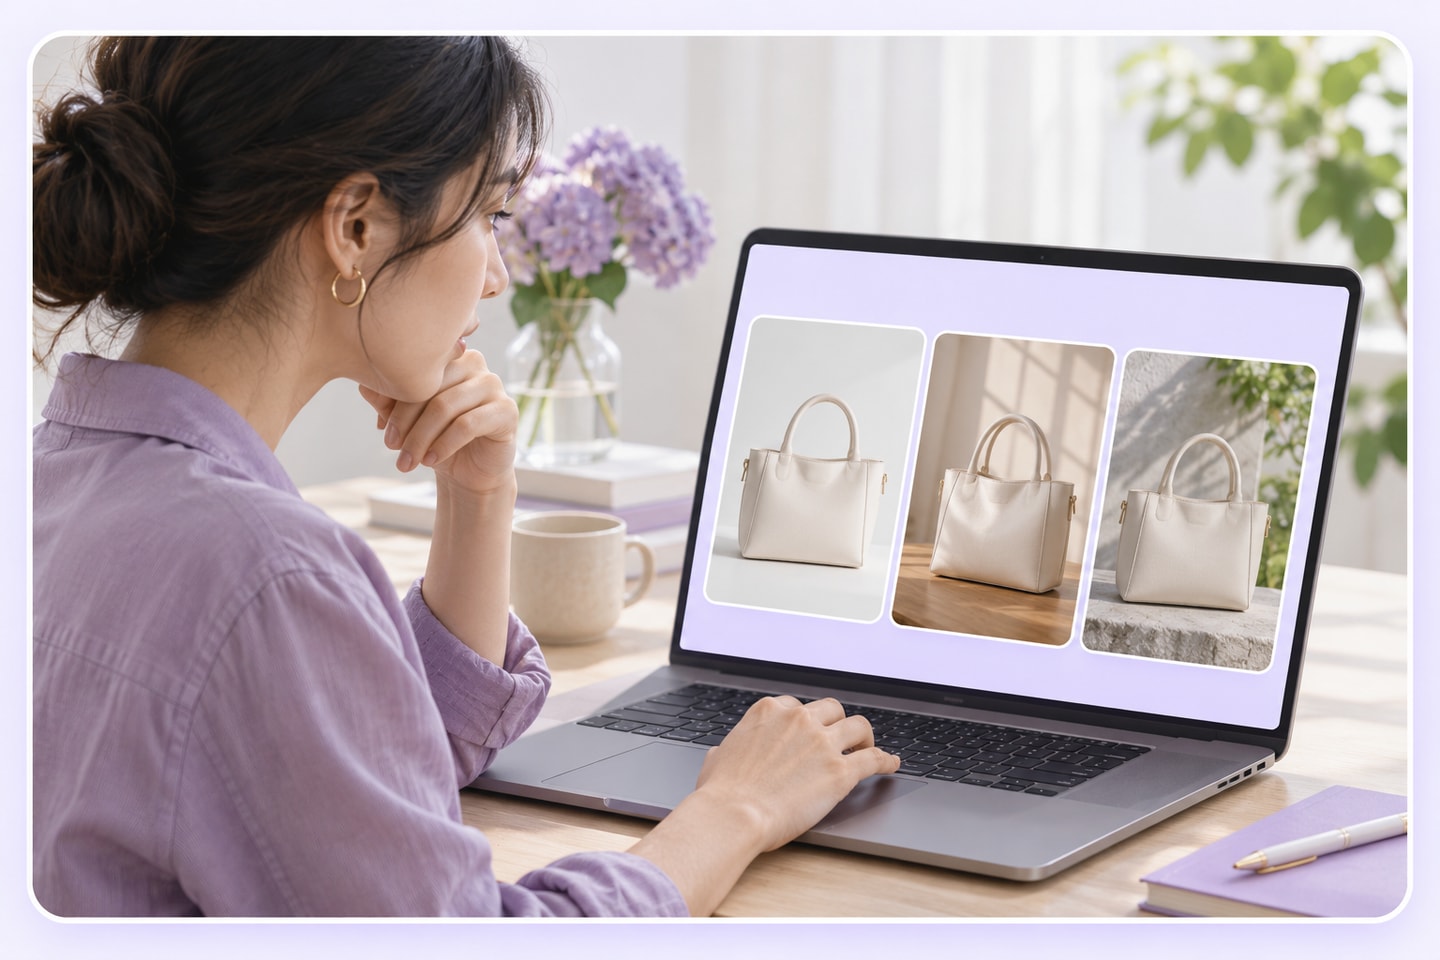
Replace image background
Change the setting to fit a product listing or campaign. Keep the product visually credible by checking its scale, outline, and contact with the new surface.
Keep the item recognizable
Compare the edited photo with its source. Labels, color, shape, and small features should still describe the item a buyer will receive.
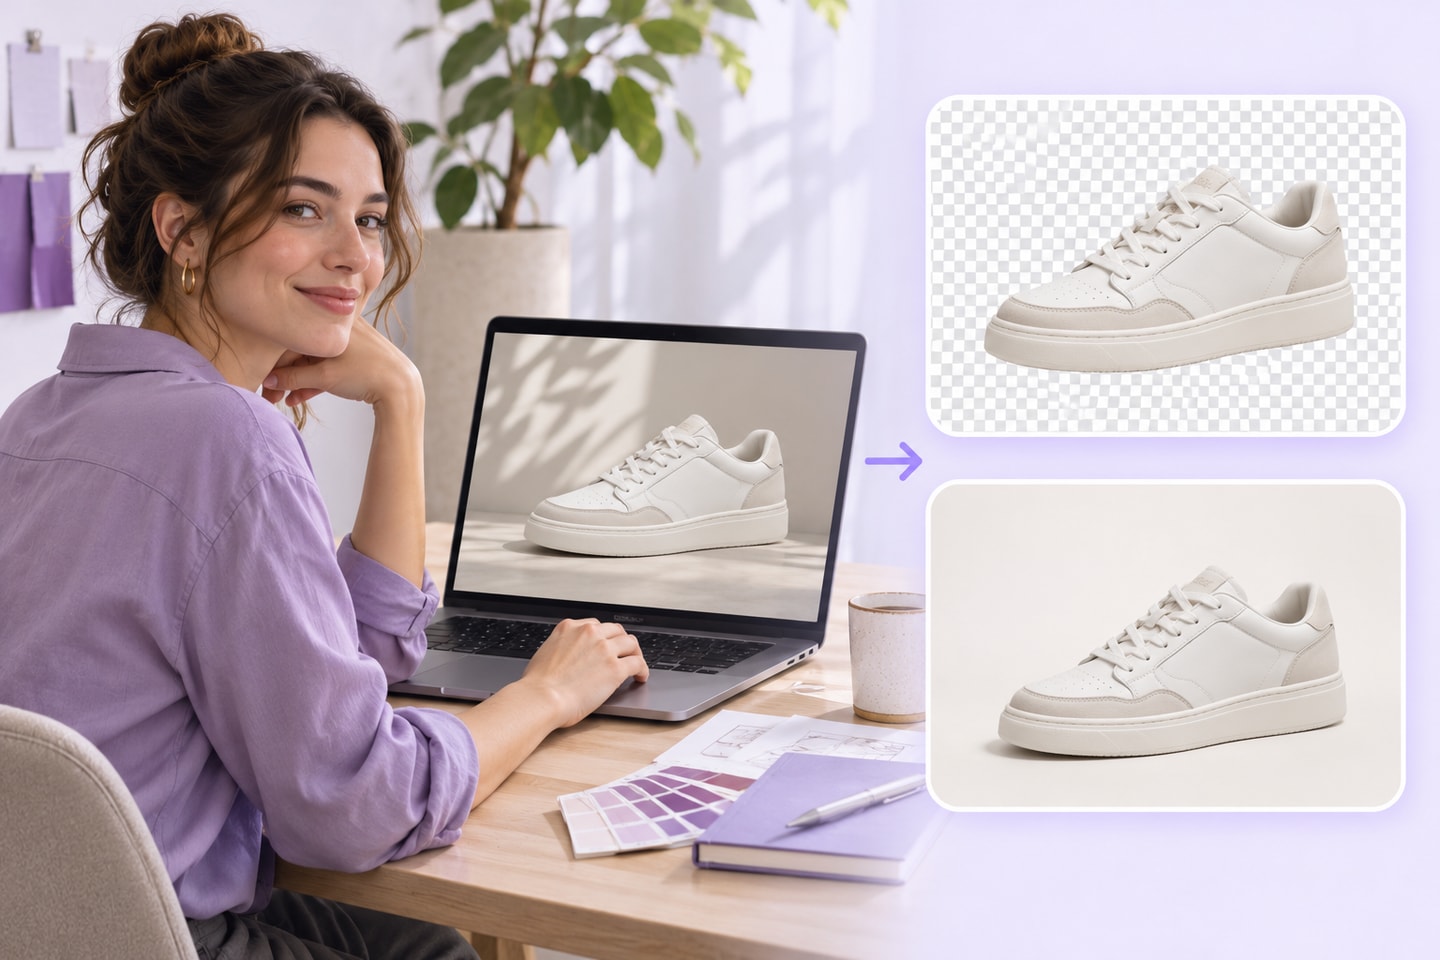
How to Use the Transparent Background Maker
Start with a clear product photo, choose removal or replacement, then review the edited result. This Transparent Background Maker workflow keeps the source item and the intended destination connected.
Add a clear product photo
Open the Transparent Background Maker and add an image with the whole item visible. Choose a photo with enough separation between the product and the surrounding scene.
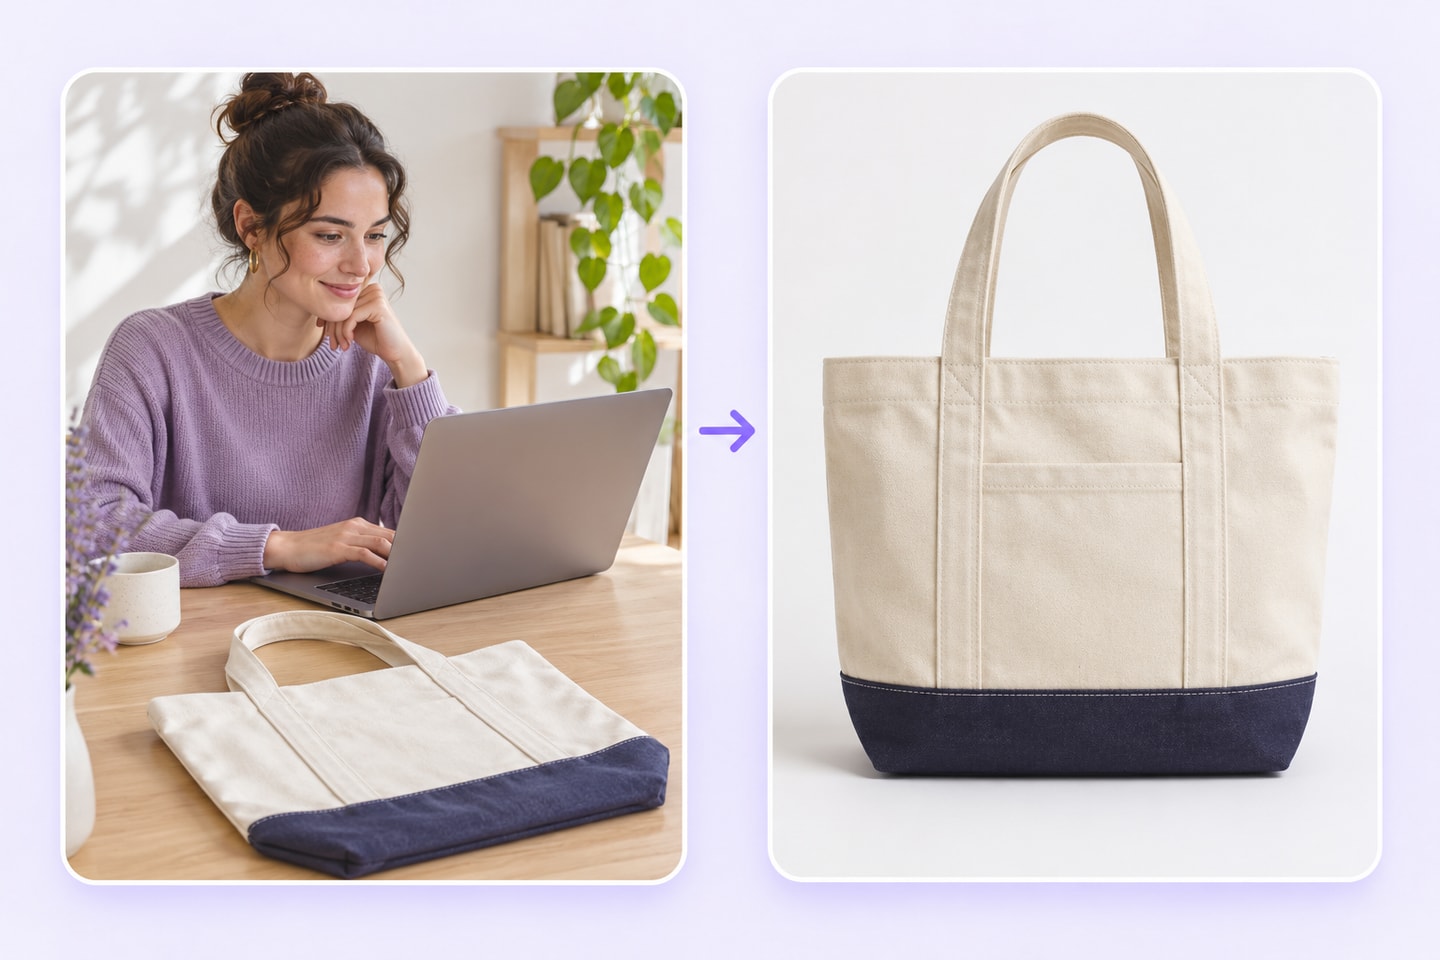
Choose the background direction
Decide whether you need a transparent cutout or a replacement backdrop. Use the available background controls, then start processing in the Transparent Background Maker.
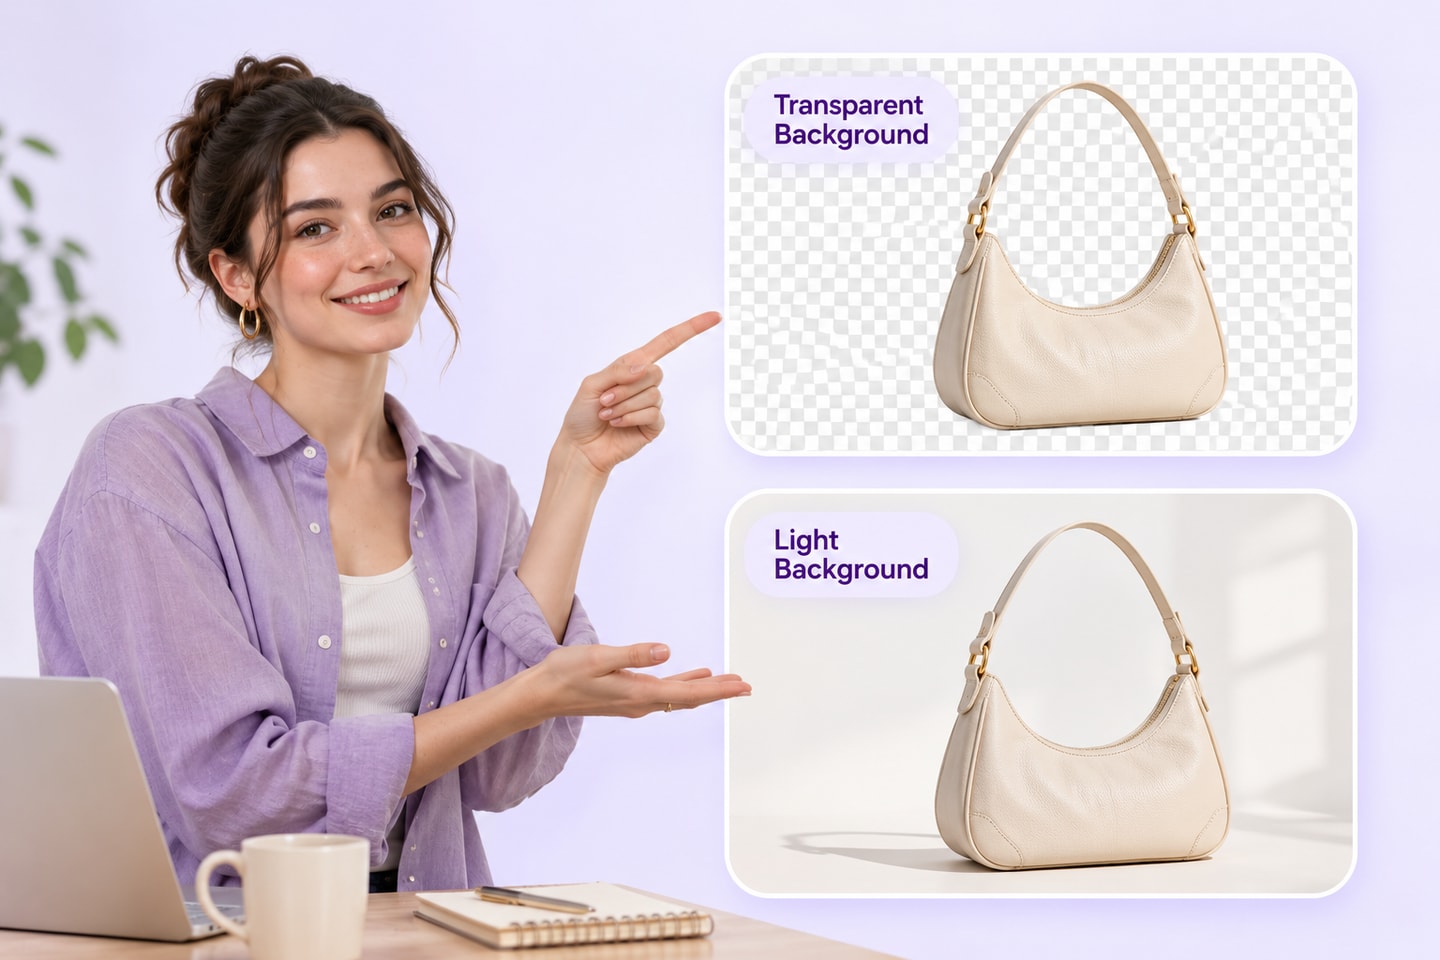
Inspect the result before use
Review edges and small openings against light and dark areas. Save the result using the available export option, then check it in the destination layout.
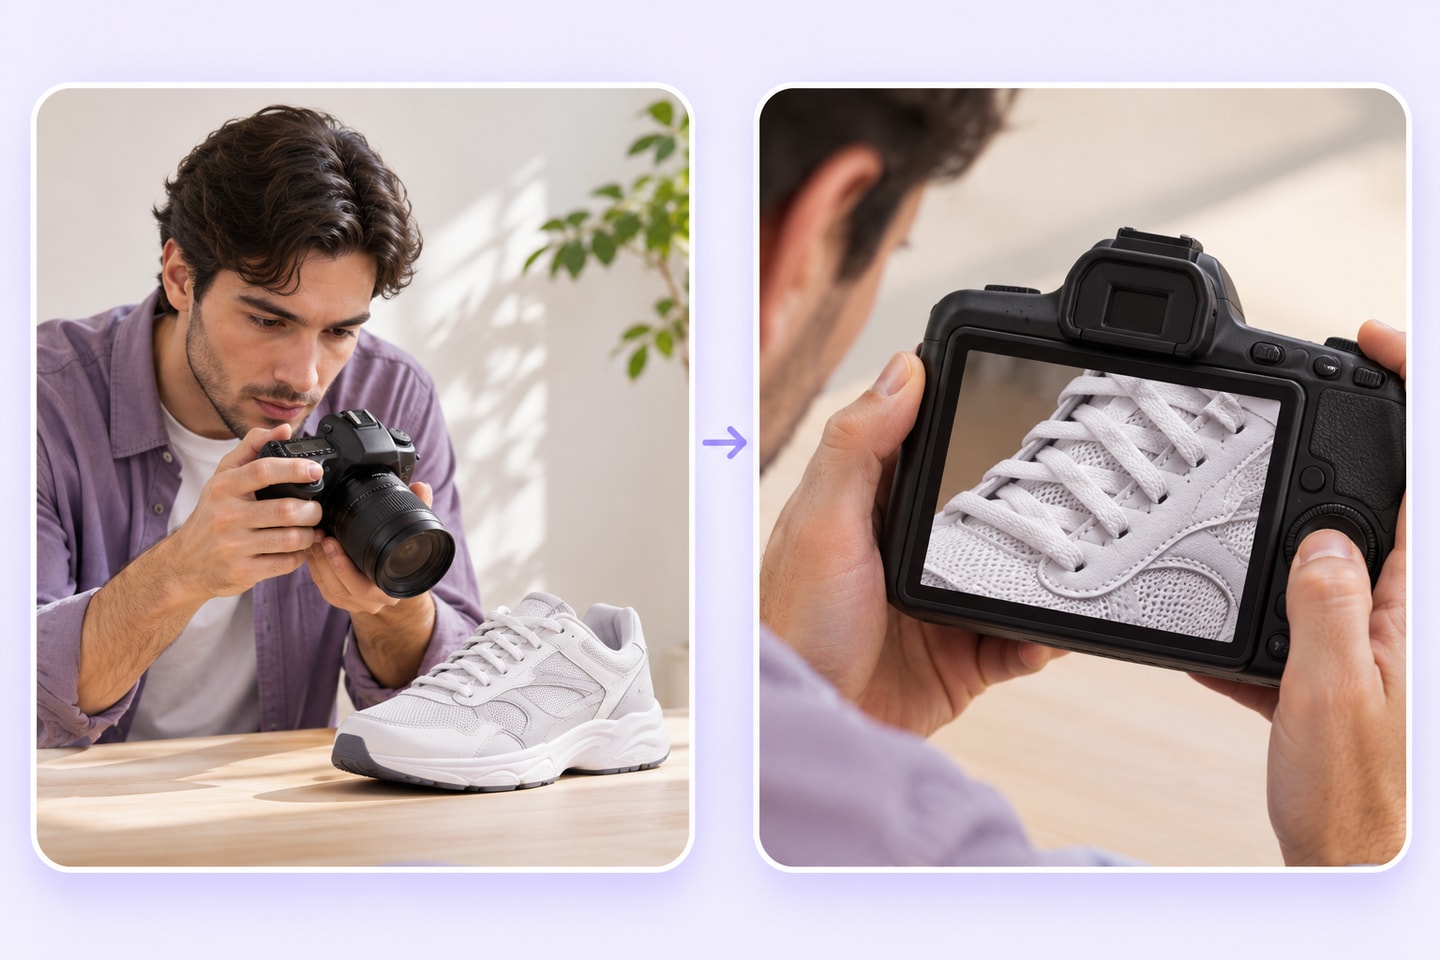
Use a Transparent Background Maker Across Your Store
Choose the final placement before editing. The Transparent Background Maker can support different visual tasks, but each destination needs its own crop, spacing, and background decision.
Online store product listings
Give the item a clear backdrop and enough breathing room. Check the destination’s image requirements before deciding whether a transparent or solid background is appropriate.
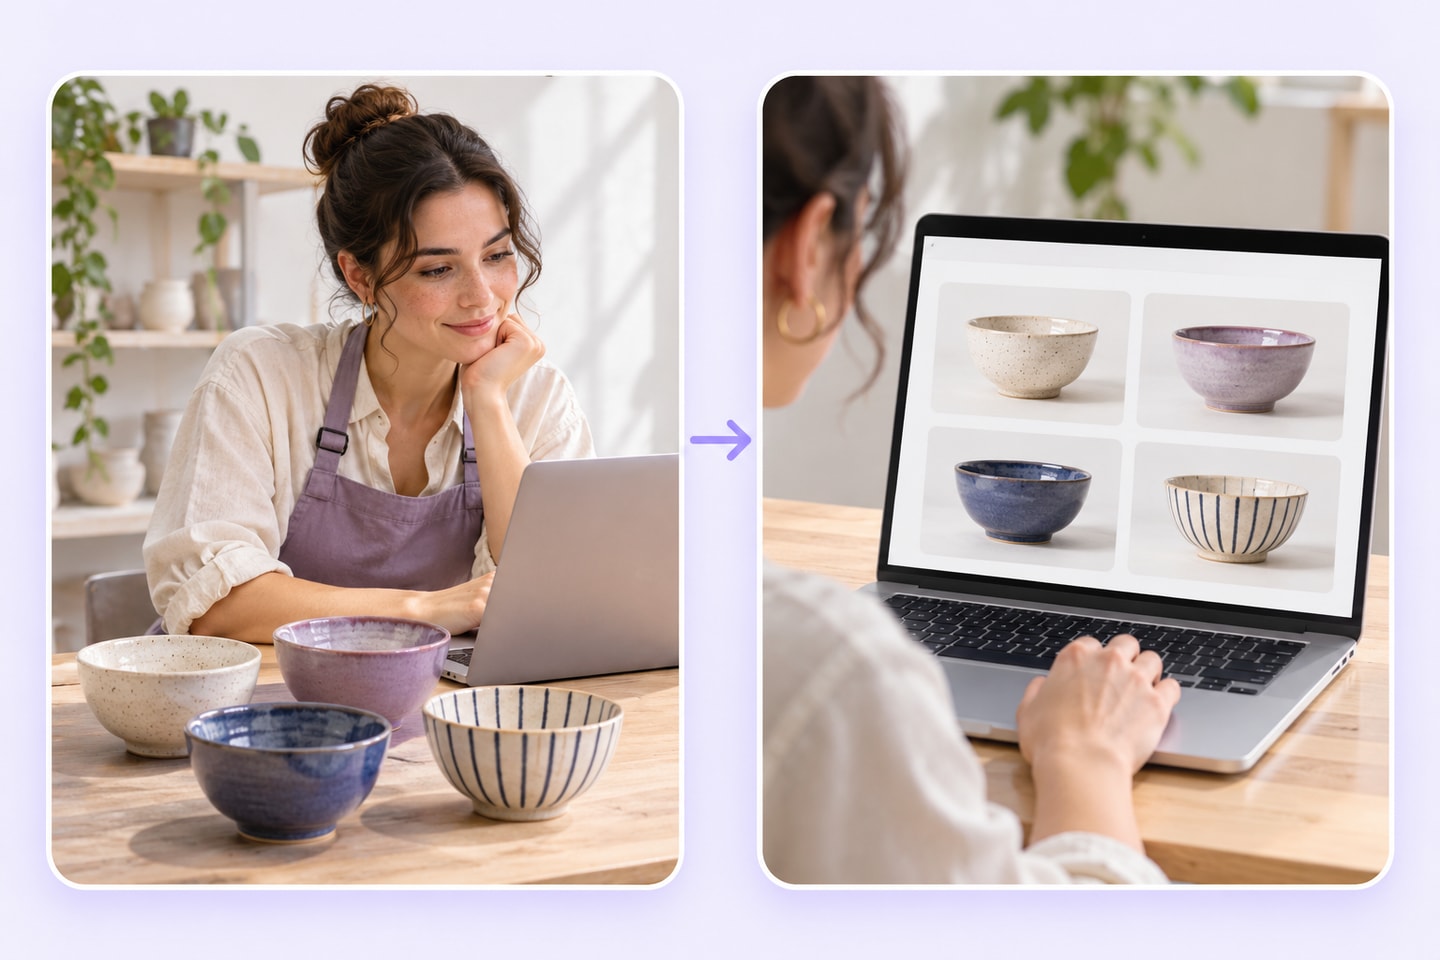
Promotional banners
Use a cutout to place a product beside campaign text. Keep enough separation between the item and the headline so both remain easy to read.
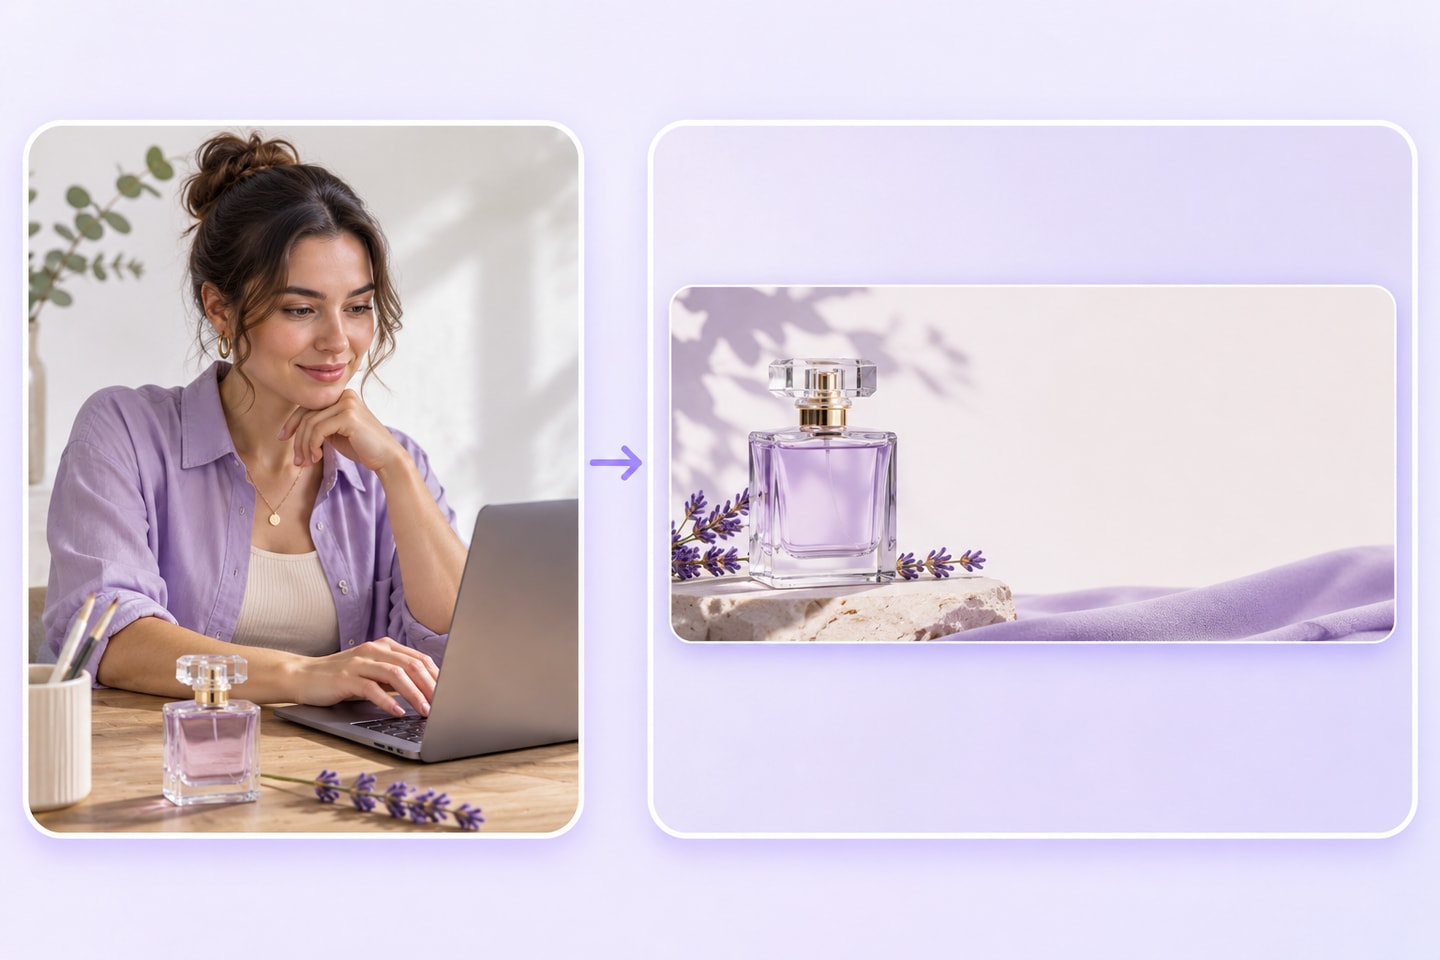
Social product posts
Choose a background that supports the message without hiding the item. Review the image at feed size, where small edge problems can become distracting.
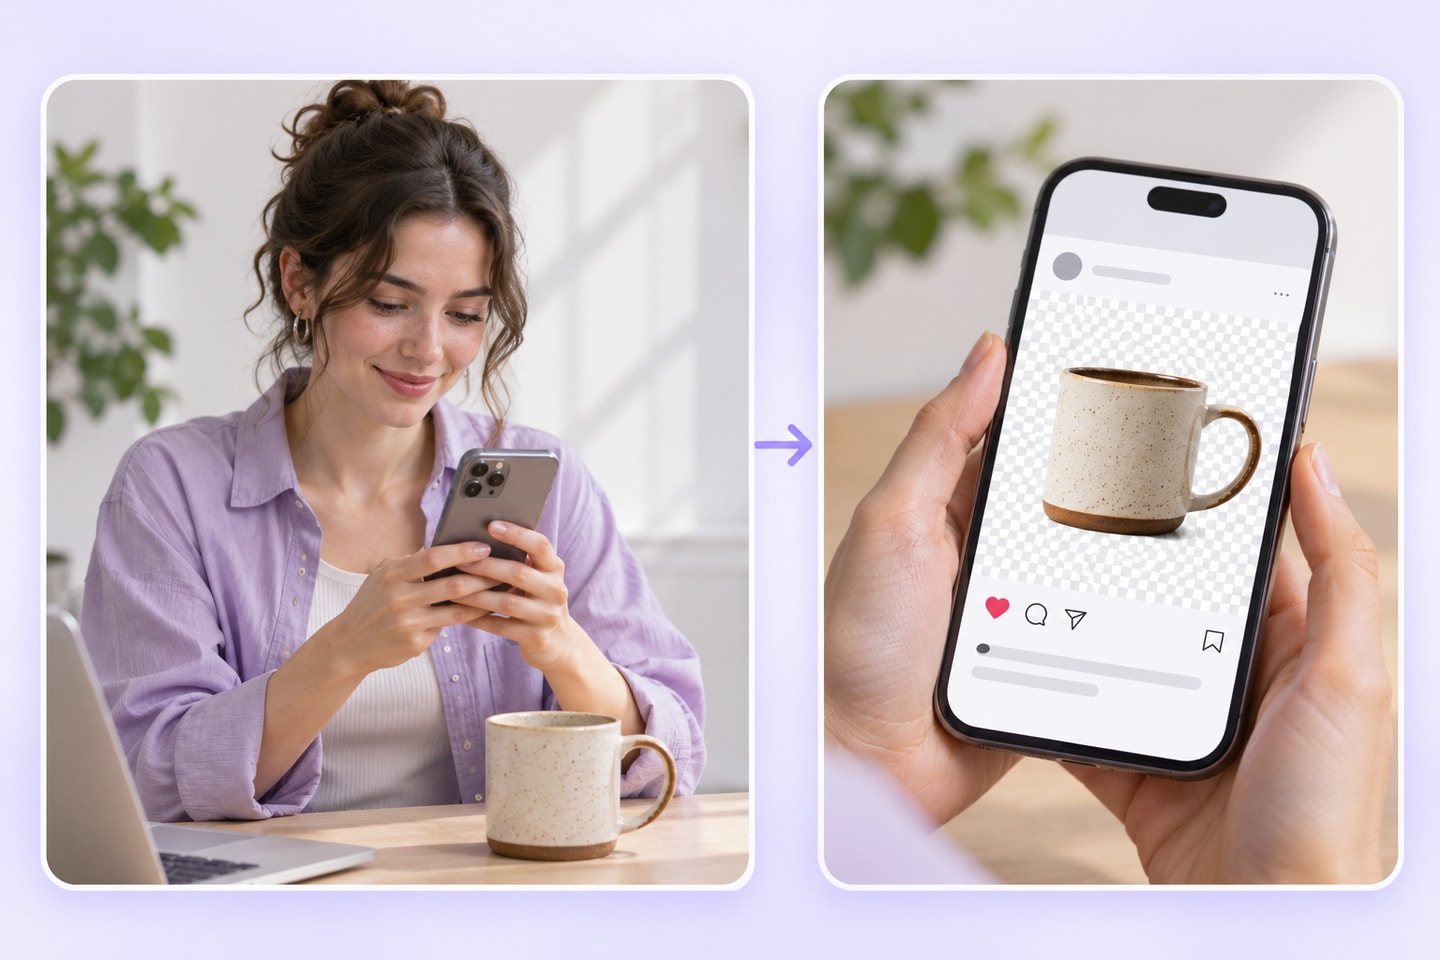
Choose a Background for Your Product Photo
Background planning guide · Scene illustrations
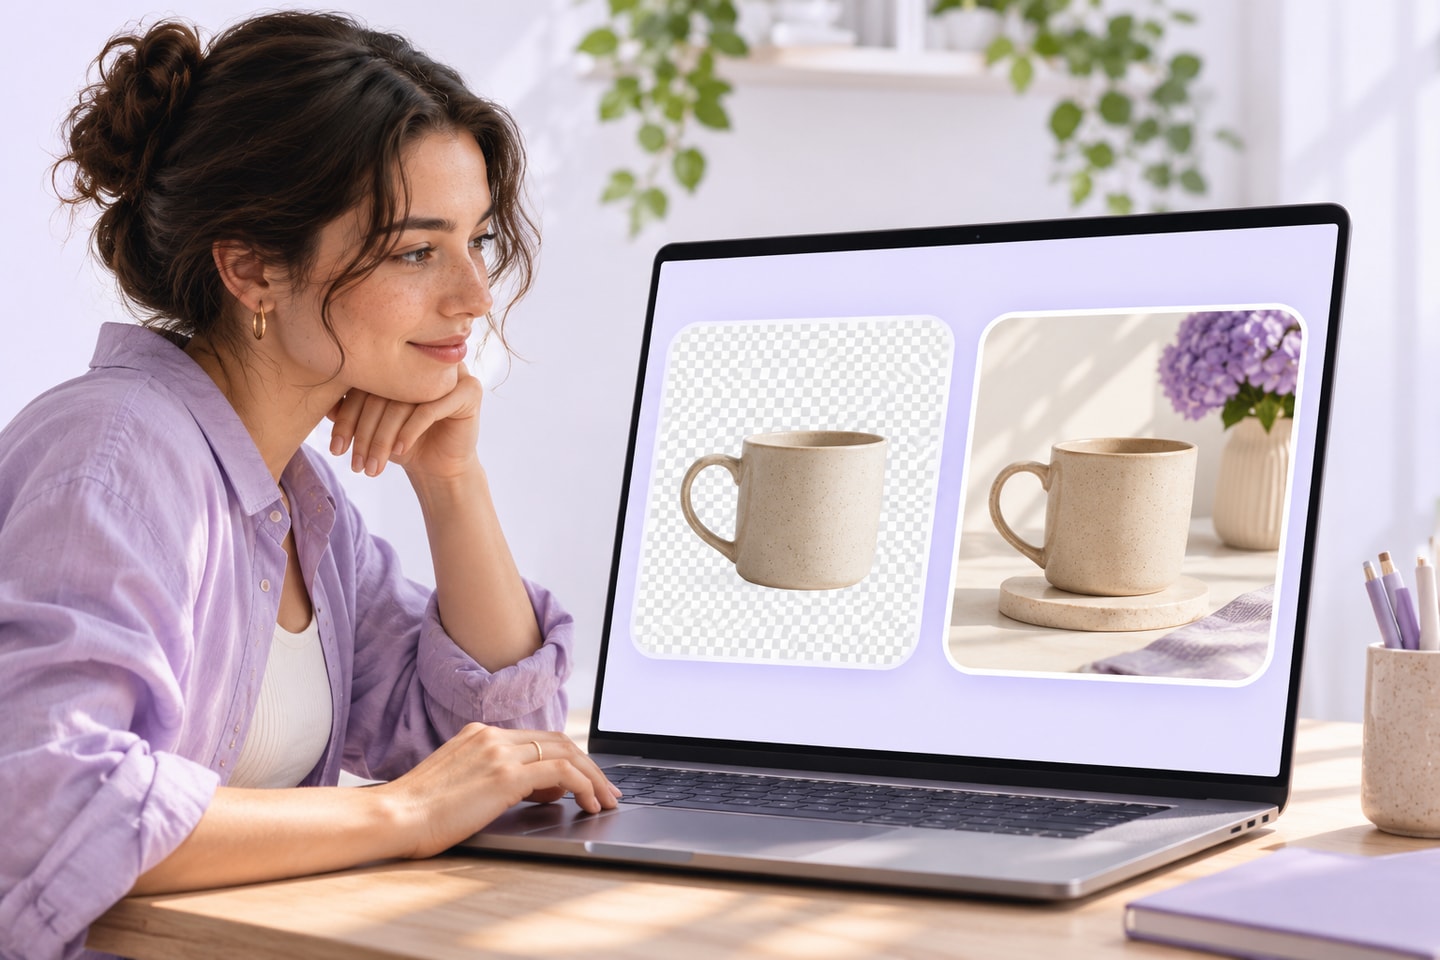
Plan the destination before using the Transparent Background Maker. A reusable cutout suits a promotional layout; a replacement background suits a complete product scene. Use the mug illustrations below to choose the editing direction.
Start with a clear product photo
Choose a photo that shows the whole mug, including the handle opening and base. Identify distracting objects around it and decide where the product will appear in the final layout.
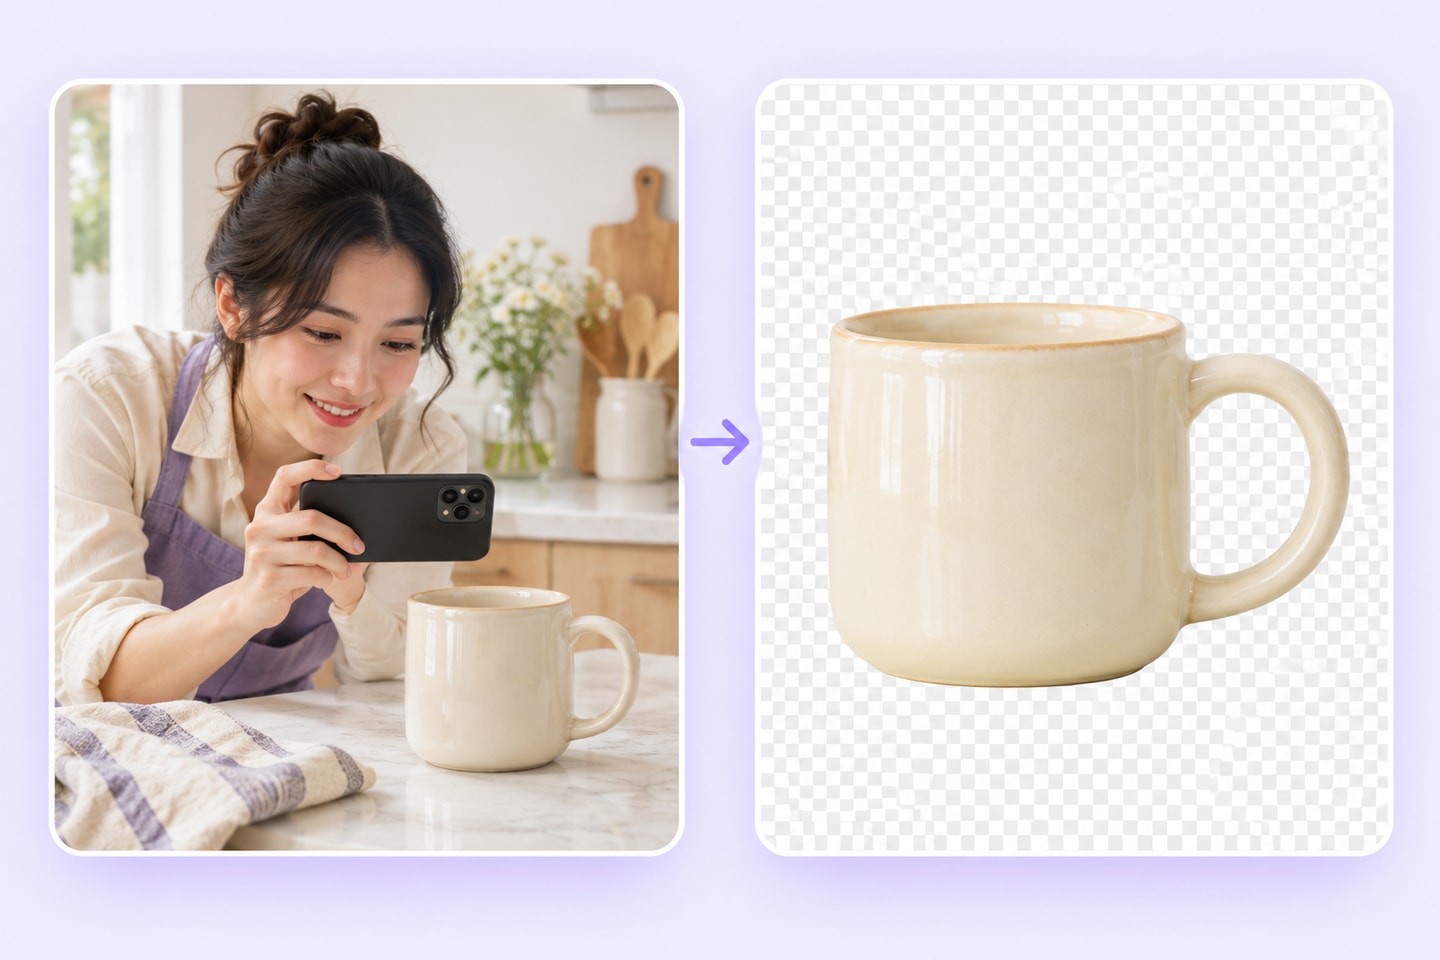
Choose a cutout or a finished scene
Use background removal when you need to place the mug in a separate banner or design. Choose background replacement for a complete scene. Check the handle, proportions, and contact with the surface before publishing.
Transparent Background Maker Review Examples
Explore how e-commerce sellers, designers, and marketing teams might use the Transparent Background Maker. These illustrative reviews highlight different workflows and the details to check before publishing.

E-commerce Seller
For my store layouts, I would use the Transparent Background Maker to give a product a cleaner starting point. The detail I would check first is the handle opening, because a neat outer edge alone is not enough.

Performance Marketer
A campaign often needs the same product in several compositions. The Transparent Background Maker would fit the background stage of that workflow, while I keep the headline, crop, and product scale under review.
Product Photographer
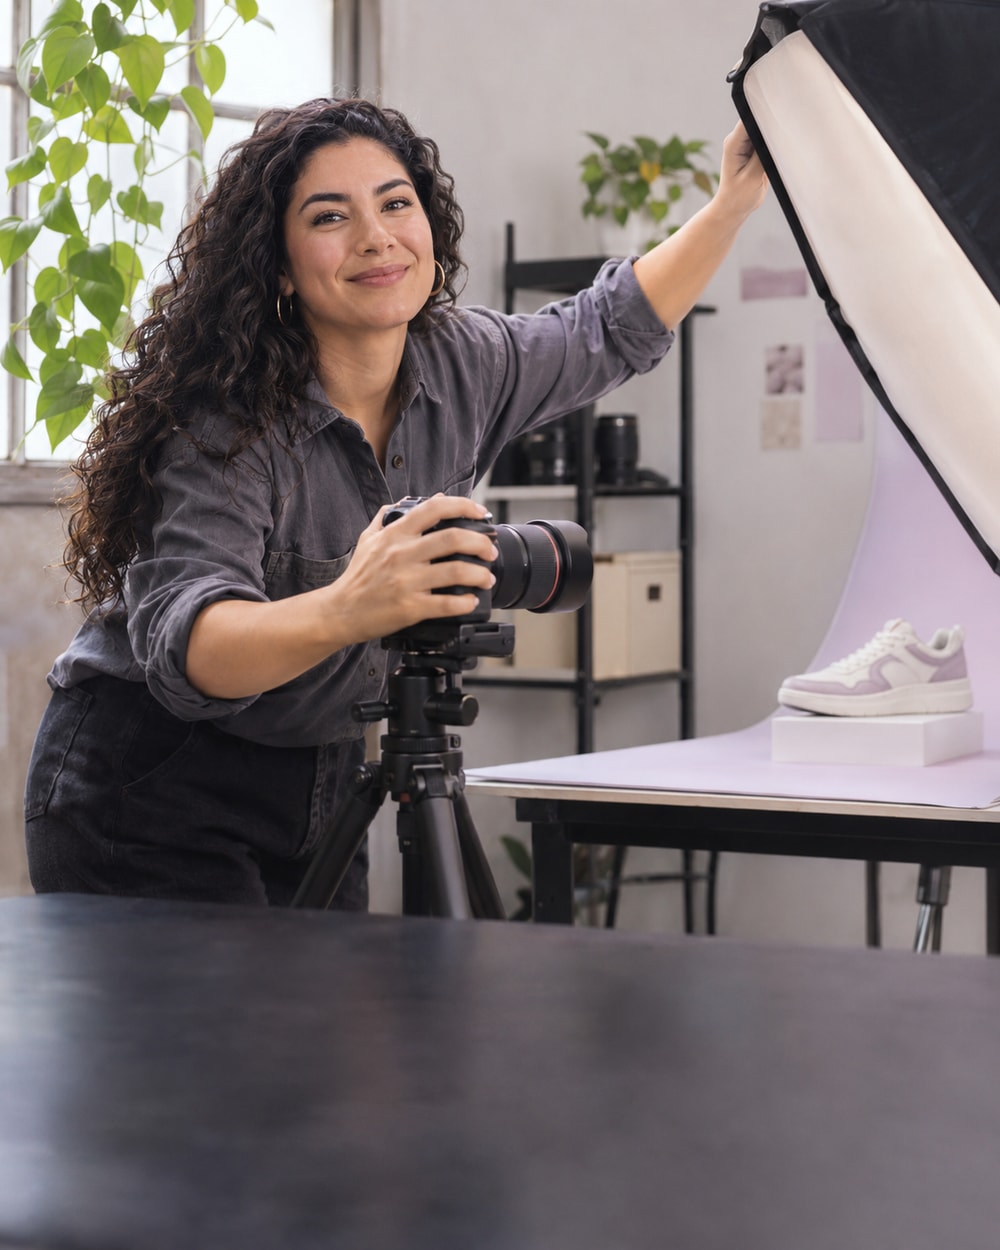
I would start with a well-lit image rather than ask editing to rescue a hidden edge. The Transparent Background Maker would be most useful after that preparation, when I know which details the finished photo needs to preserve.

Graphic Designer
I need to know whether I am preparing a cutout or a complete scene. The Transparent Background Maker gives this page a clear purpose: isolate the item for a layout, or choose a different background for the image.

Brand Marketing Manager
A consistent collection starts with a visual direction. I would use the Transparent Background Maker after choosing that direction, then compare the edited images together instead of approving each one in isolation.

Independent Business Owner
I would like to reuse a product photo without rebuilding every layout around its original room. The Transparent Background Maker would help with that task, provided I check the saved image against the background where it will appear.
Transparent Background Maker FAQ
Find direct answers about background removal, replacement, source photos, and preparing the edited image for its next use.
What does the Transparent Background Maker do?
It removes or replaces the background around a product in a photo. The aim is to prepare the existing item for another visual layout, rather than design a different product.
How can I make a background transparent?
Add a clear product image to the Transparent Background Maker, choose background removal, and process the photo. Review the saved file in a layout that makes any remaining background visible.
Can I replace a product photo background?
Yes. Background replacement is part of the intended Transparent Background Maker workflow. Choose a backdrop that fits the placement and inspect how the item sits within the new scene.
Is a white background the same as a transparent one?
No. White is a visible background color. Transparency allows the destination layout to show through around the product, provided the saved format and destination preserve it.
What makes a good source photo?
Use a sharp photo with the whole product visible and a distinguishable outline. Blurred boundaries, overlapping objects, and strong glare can make the subject harder to separate.
Can the tool recover parts hidden behind another object?
Do not assume it can. A Transparent Background Maker is intended to edit backgrounds, not provide a reliable record of product details that were never visible in the source.
Will fine edges always look perfect?
No. Check thin straps, fur, hair, glass, and small openings carefully. Their appearance depends on the source photo and the edited result; review them at the size you plan to use.
Why does my saved image still look white?
A viewer may display transparency on white, or the saved file may contain an opaque background. Place it on a colored layer to distinguish those cases and check the export option you used.
Which file formats preserve transparency?
PNG can preserve transparency; JPEG does not. Check the formats currently available in the Transparent Background Maker rather than assuming every export option keeps a transparent background.
Can I use the image in an online marketplace?
Check that marketplace’s current image rules first. Background color, framing, and allowed editing can differ, even when the product photo itself looks clear.
Is the Transparent Background Maker free and available without sign-up?
Yes. The Transparent Background Maker is available online for free without sign-up. Check current usage conditions in the tool before processing multiple images.
What should I check before publishing?
Compare the product with its source, inspect edges on the intended background, and open the saved file in its final layout. The Transparent Background Maker result should still represent the item accurately.
Prepare Your Next Product Image
Bring a clear photo and a destination in mind. Use the Transparent Background Maker to remove a distracting backdrop or prepare a replacement scene, then bring the reviewed image into your next design with UGCMaker.