


TL;DR
- You can upscale video to 4K with AI from a clean 1080p source, but it cannot recover detail that was never captured.
- Use the original, highest-bitrate source and test a short segment before processing the full video.
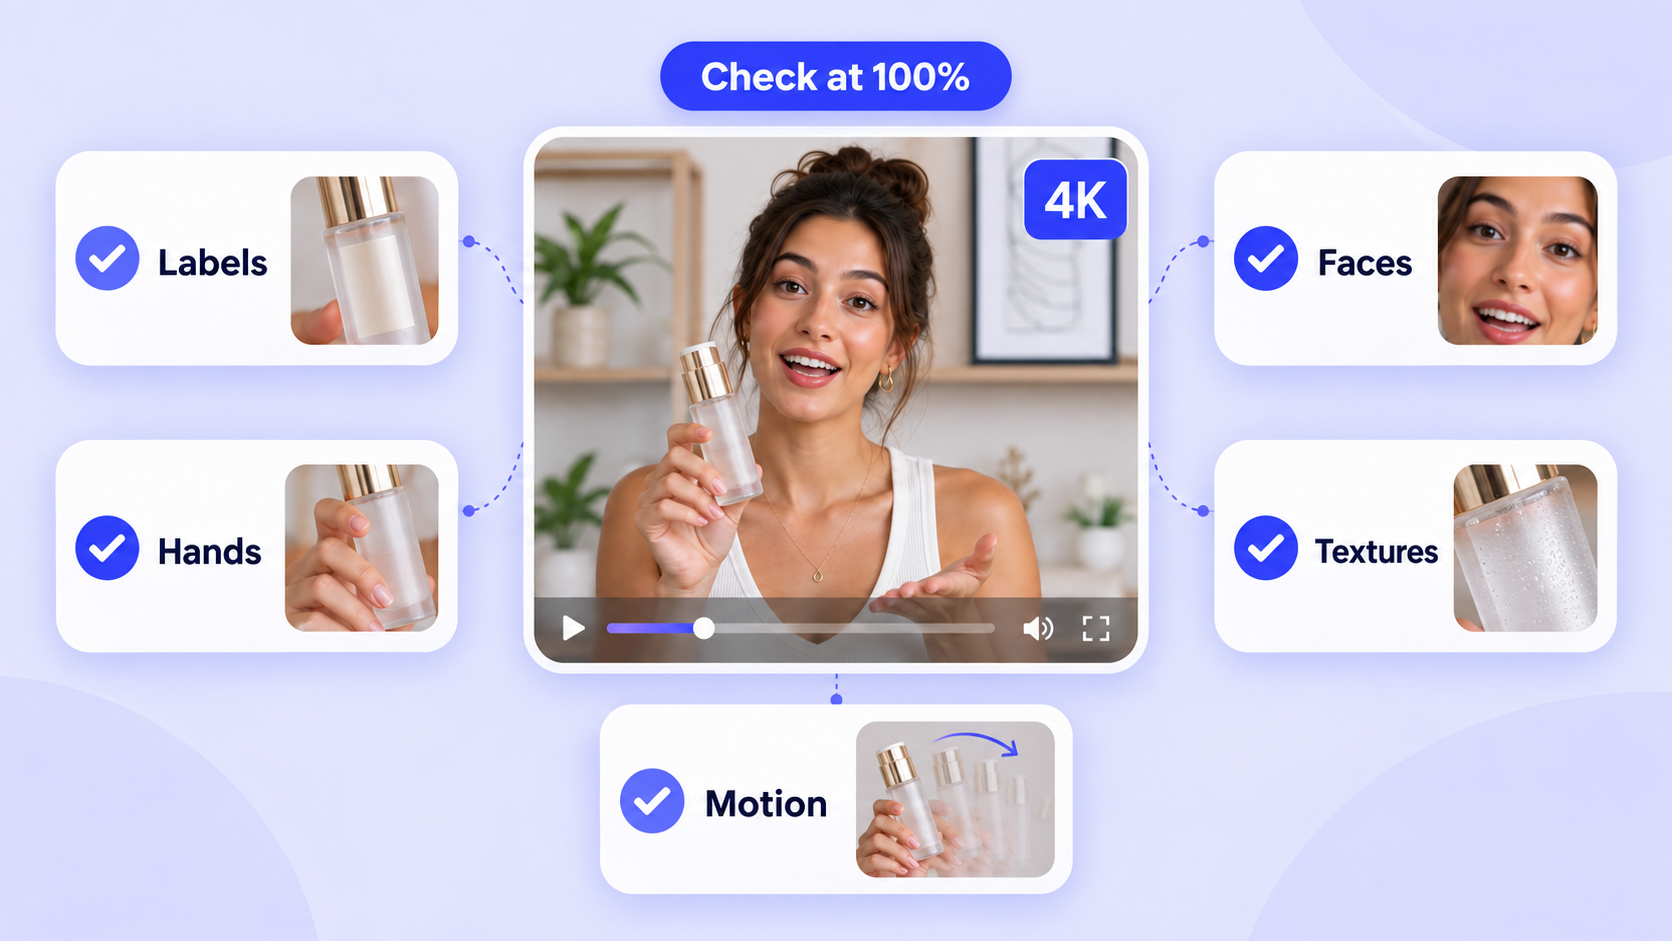
- Review product labels, faces, hands, textures, and fast motion at 100% scale.
- Add captions, logos, and calls to action after upscaling so overlays stay sharp.
- For an existing video, use UGCMaker's AI Video Enhancer; for a new product video, start with the URL to Video workflow.
- Not sure which one fits your footage? Browse every tool on the UGCMaker homepage.
If your best product video was recorded in 1080p, you do not necessarily need to film it again to get a sharper, more polished export. AI upscaling can analyze the existing frames, rebuild missing detail, and upscale video to 4K while preserving the motion and composition you already created.
This guide explains how to upscale video to 4K with AI, what 4K upscaling can and cannot fix, how to prepare your source file, and which export settings work best for ecommerce videos, UGC ads, YouTube, and social media.
The goal is not to make every video look artificially sharp. The goal is to create a clean 4K version that keeps skin, product labels, fabric, edges, and motion looking natural.
What Is 4K Video Upscaling?
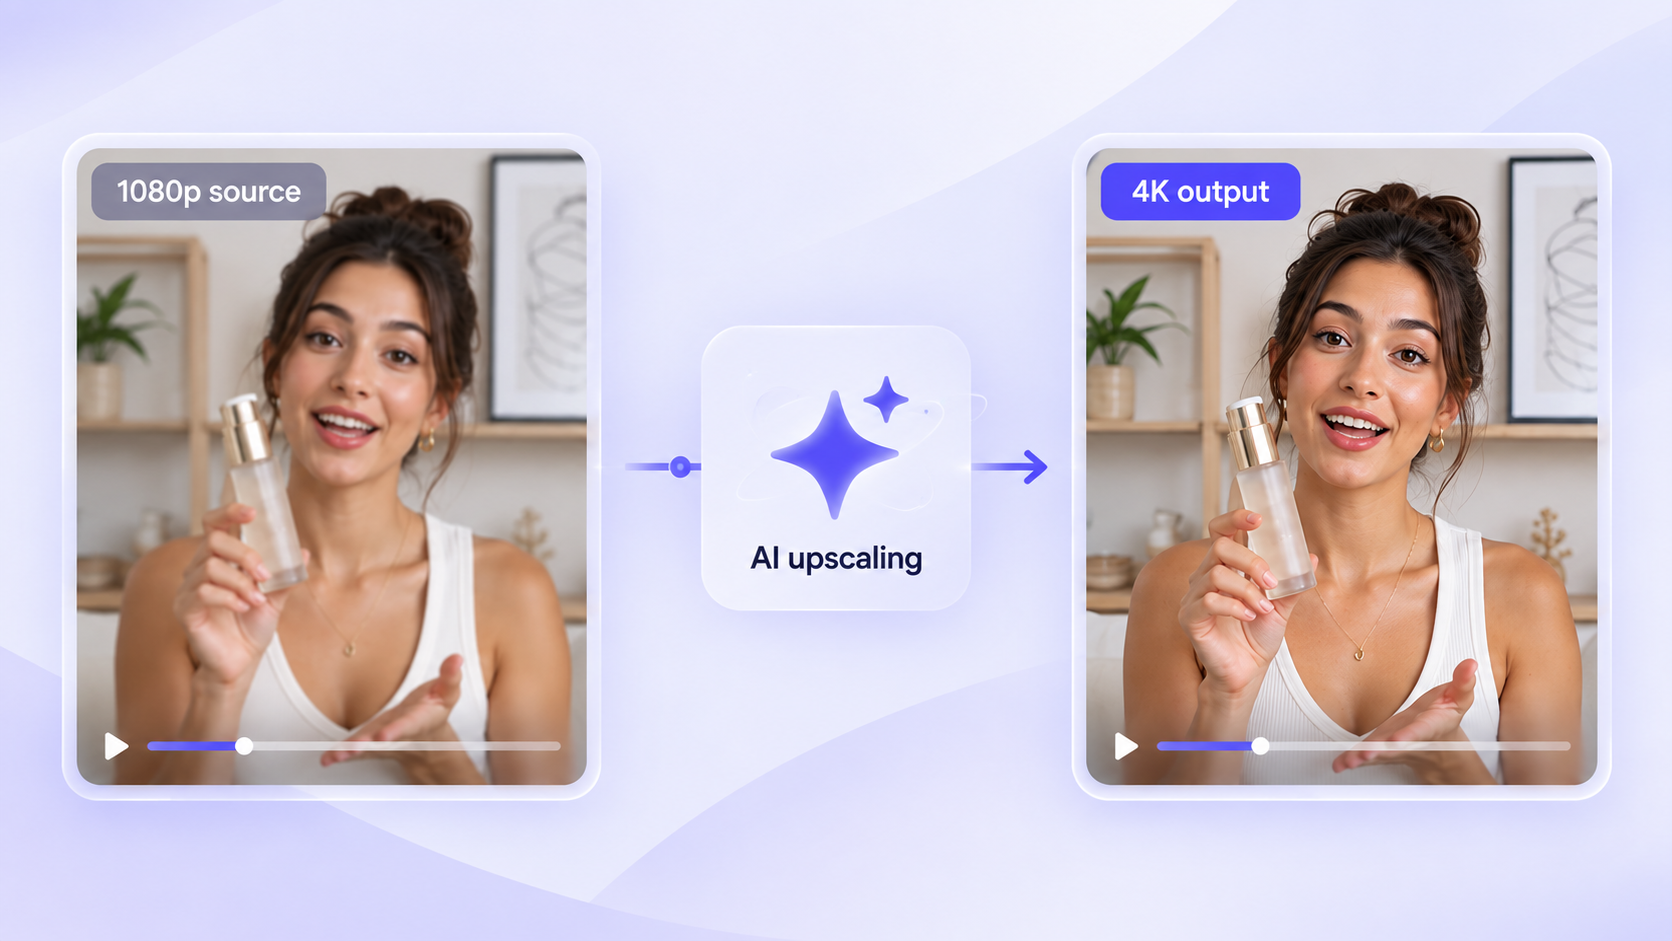
4K video upscaling is the process of increasing a video's resolution to approximately 3840 × 2160 pixels. A standard 1080p video has 1920 × 1080 pixels, so a 4K export contains four times as many pixels overall.
Traditional upscaling stretches existing pixels. AI video upscaling goes further: it studies nearby frames and visual patterns, then predicts cleaner edges, textures, and details for the larger output. The result is not a recovery of information that was never captured, but it can create a more convincing and usable high-resolution version.
This distinction matters. Upscaling is most effective when the original footage is correctly exposed, in focus, and free of heavy compression. It cannot reliably reconstruct a product label that was unreadable in the source or remove severe motion blur from every frame.
4K Upscaling vs. Native 4K Generation
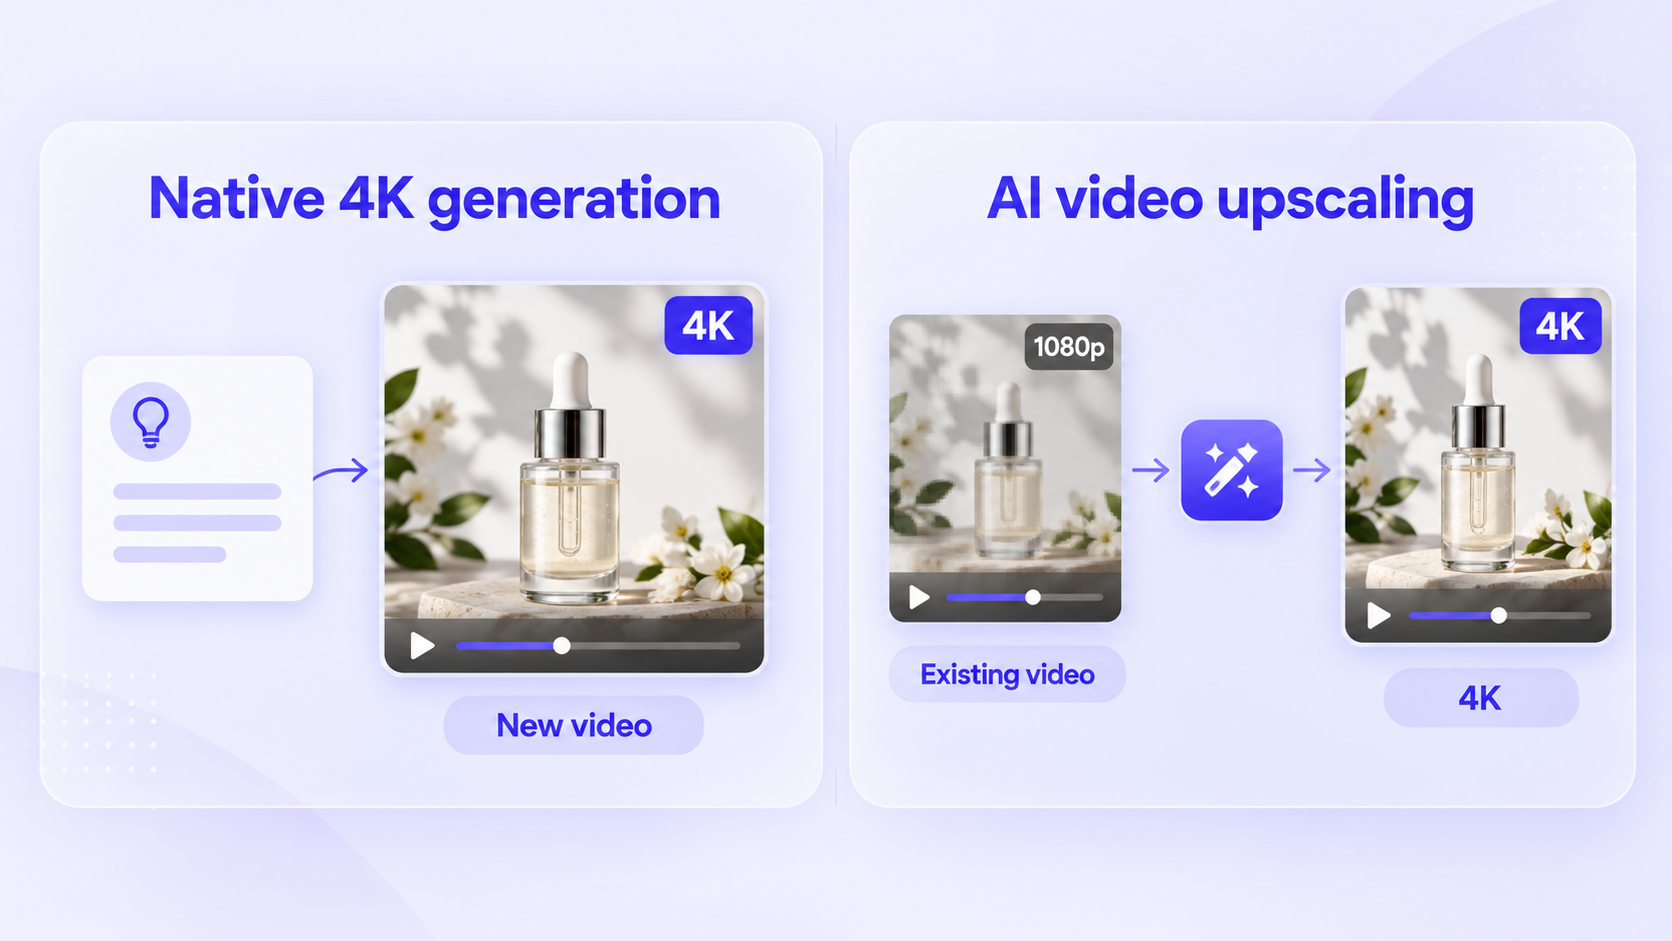
The phrases “4K video” and “4K upscaling” describe two different workflows.
Native 4K video generation
Native 4K generation creates a video at a 4K resolution from the beginning. Some AI video models support this directly, although generation time, cost, model availability, and consistency can vary.
AI video upscaling to 4K
AI upscaling starts with an existing video, such as a phone clip, UGC ad, product demo, or AI-generated video. It enhances and enlarges that source into a 4K export.
For most ecommerce teams, the ability to upscale video to 4K matters because the creative already exists. You can improve a winning ad, reuse an older product demo, or prepare one master file for larger screens without rebuilding the entire video.
When Should You Upscale Video to 4K?
AI video upscaling is a good fit when:
- Your source video is clear but limited to 720p or 1080p.
- The product, person, or scene is already correct and only the output quality needs improvement.
- You want to crop a landscape video into a new format while keeping more detail.
- You need a cleaner master file for a website, YouTube, presentation, or digital signage.
- You want to reuse a high-performing UGC ad across multiple placements.
- You need to make small text, packaging, or product textures easier to inspect.
It is a weaker fit when the source is heavily pixelated, badly out of focus, full of compression blocks, or recorded with severe camera shake. In those cases, stabilize, denoise, or re-edit the source first.
How to Upscale Video to 4K with AI in UGCMaker
UGCMaker's AI Video Enhancer is designed for improving an existing video rather than generating a new scene from a text prompt. The workflow is simple enough for a quick test, but the review step is still important for client-facing content.
1. Choose the cleanest source file
Start with the original export whenever possible. Avoid downloading a video from a social platform and then upscaling it again, because the platform may already have added compression and sharpening.
Use the highest-quality version you have, ideally with:
- The original frame rate.
- The original aspect ratio.
- No burned-in platform watermark.
- No unnecessary re-encoding.
- Enough bitrate to preserve product edges and skin texture.
2. Upload the video to the AI Video Enhancer
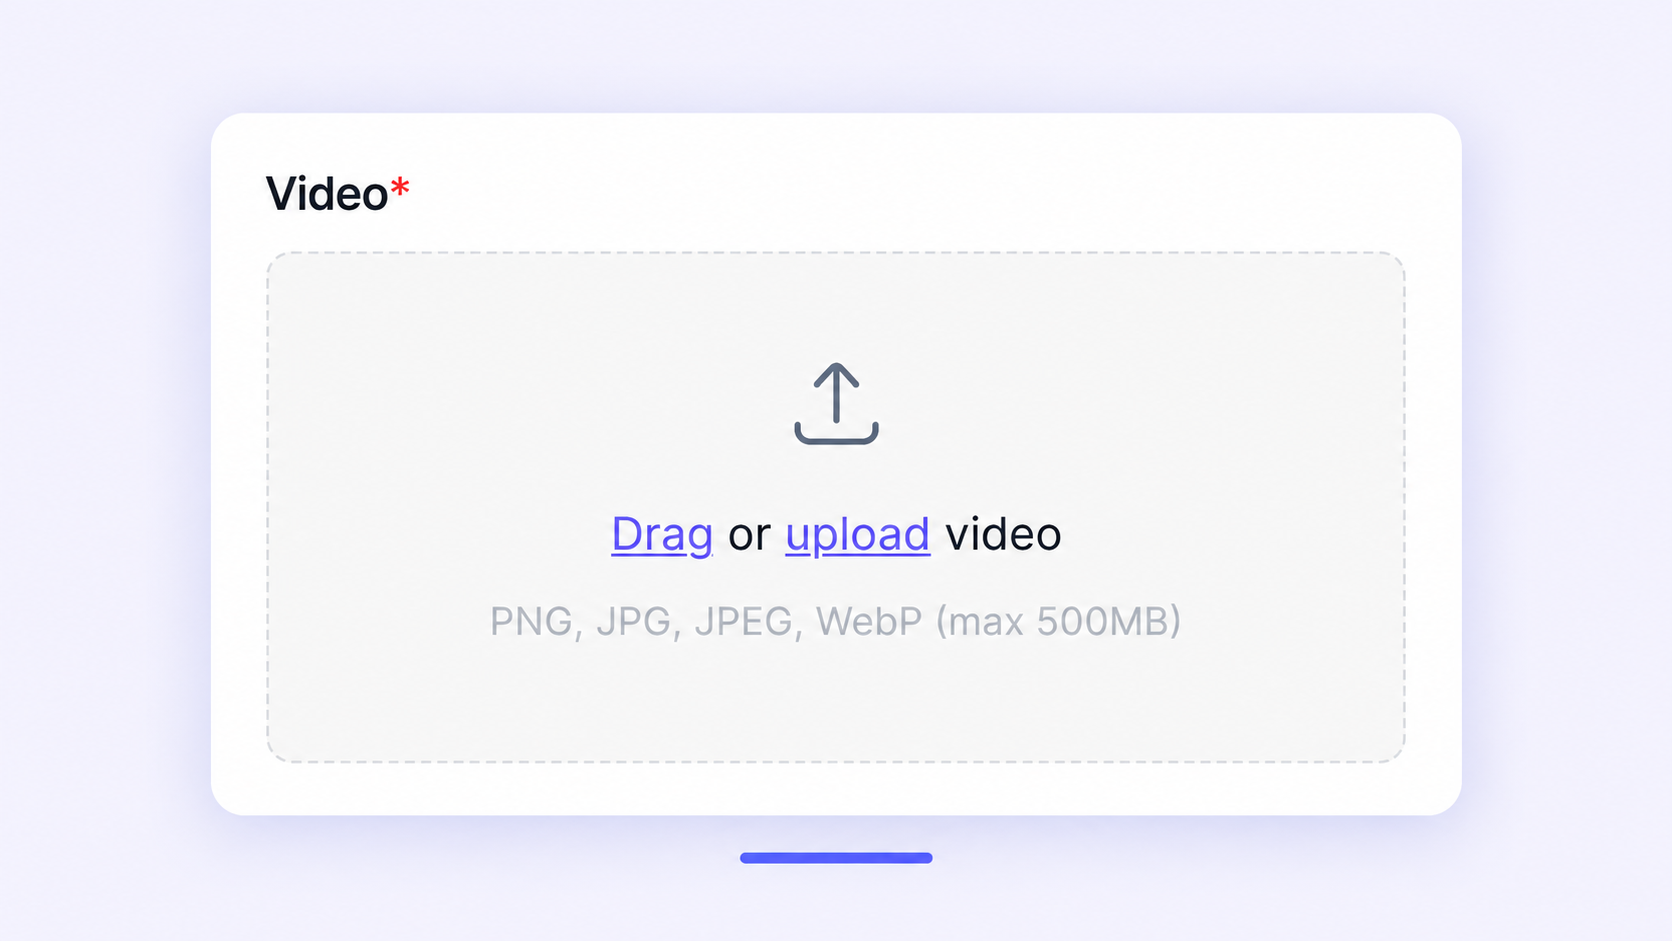
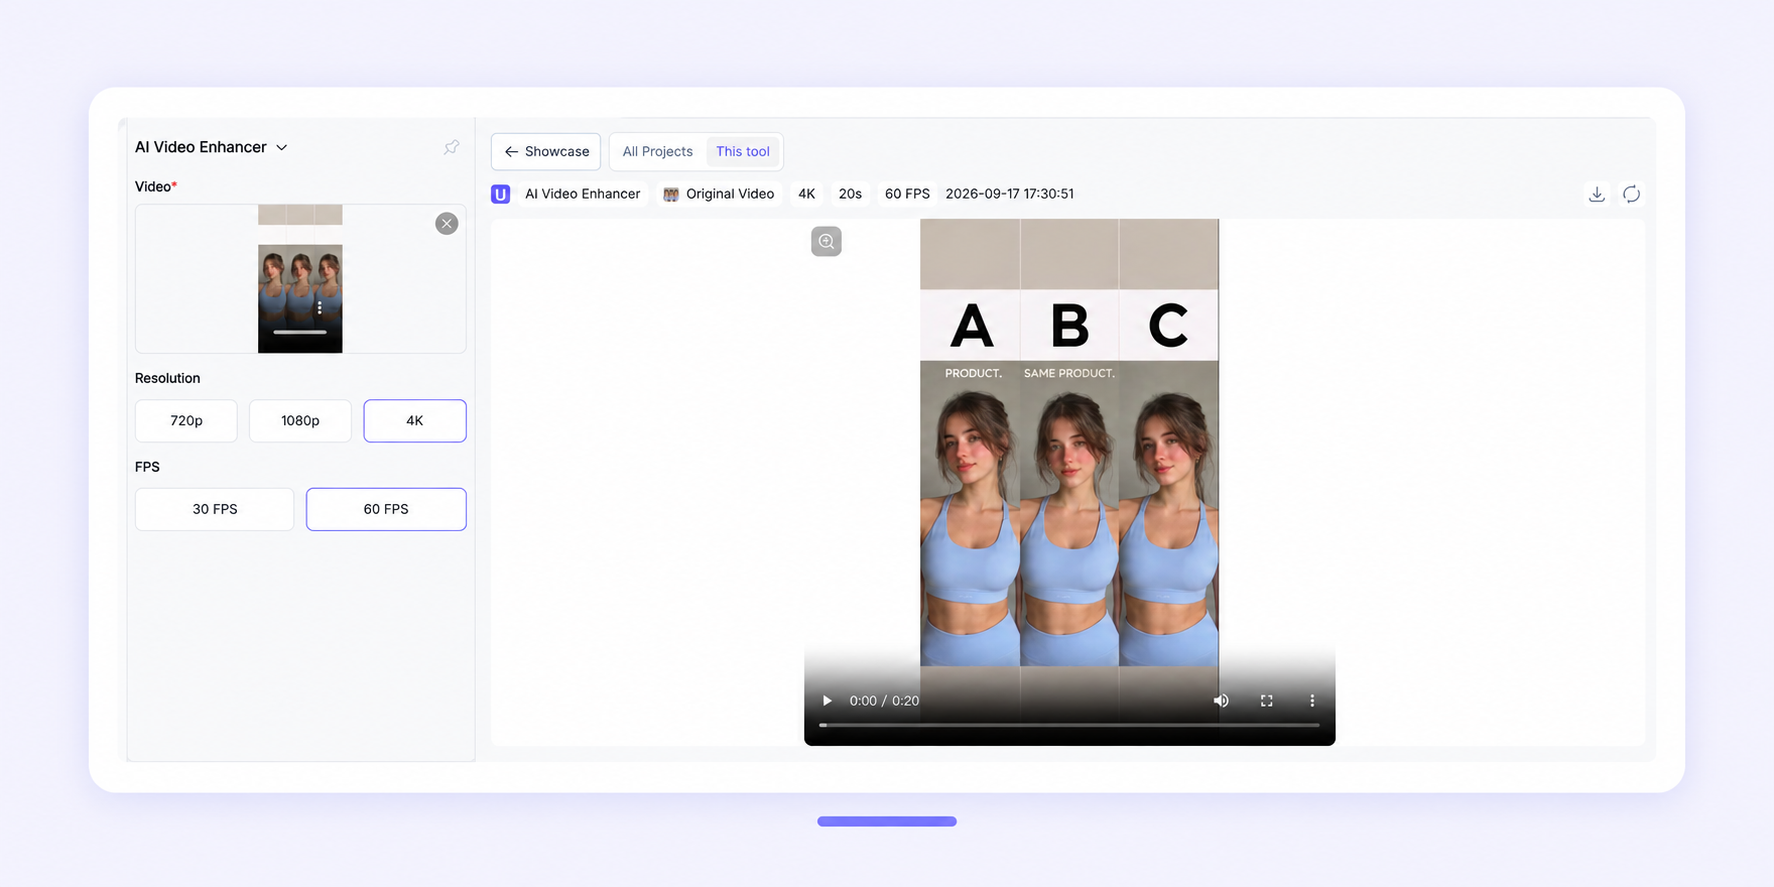
Open the AI Video Enhancer and upload your source video. Before generating, confirm that the correct clip is selected and that its orientation matches the format you need.
For an ecommerce workflow, it is useful to keep a copy of the original file. That gives you a reliable comparison when you review the enhanced version.
3. Select a 4K output
Choose the 4K output option when it is available. The target resolution should match the intended delivery format: 3840 × 2160 for a standard landscape 4K video, or the corresponding 4K dimensions for a vertical or square crop.
Do not confuse the target resolution with the quality of the source. A 4K file made from a soft source can be larger without looking better, which is why the before-and-after review matters.

4. Generate the enhanced version
Start the enhancement process and let the model analyze the footage. Processing time depends on video length, frame rate, resolution, and current workload.
For an important campaign, generate one short test segment first. A five- to ten-second sample can reveal issues with product edges, text, hair, hands, or fast movement before you process the full video.
5. Review the result at 100% scale
Do not judge the output only in a small preview window. Review it at 100% scale and compare it with the source frame by frame.
Pay particular attention to:
- Product labels and small text.
- Hair, fingers, and thin straps.
- Fast camera movement.
- Fine fabric or packaging textures.
- Flat backgrounds and straight lines.
- Skin texture and facial details.
- Frames where the subject moves close to the camera.
The best 4K video upscaler improves clarity without creating halos, plastic-looking skin, crawling textures, or unstable edges.
6. Export and keep the original
Download the enhanced video and keep both versions. Name the files clearly, for example:
product-demo-original-1080p.mp4
product-demo-4k-upscaled.mp4
Keeping the source makes future edits easier and prevents quality loss from repeatedly processing an already-upscaled file.
How to Prepare a Video for Better 4K Upscaling
The quality of the output is strongly influenced by the input. Use these checks before you upscale video to 4K:
Fix exposure and white balance first
If the source is too dark or has a strong color cast, correct it before upscaling. AI enhancement can sharpen an incorrect color or lighting decision just as easily as a correct one.
Remove unnecessary borders and overlays
Crop out black bars, duplicated subtitles, or platform UI before processing. If you need text overlays, add them after upscaling so they stay crisp in the final export.
Stabilize severe camera movement
Upscaling does not replace stabilization. If the camera shakes heavily, stabilize the clip first, then enhance the stabilized version.
Use a consistent frame rate
Keep the original frame rate unless you have a specific reason to change it. Converting frame rates during the same workflow can introduce judder or duplicate frames, making it harder to judge the actual benefit of 4K upscaling.
Recommended 4K Export Settings
The right settings depend on where the video will be published, so decide the destination before you upscale video to 4K.
| Use case | Recommended format | Notes |
| YouTube or website hero | 3840 × 2160, original frame rate | Keep detail and use a high-quality MP4 export. |
| Landscape ecommerce ad | 3840 × 2160 or 2560 × 1440 | Check product text and thumbnail readability. |
| Vertical social video | 2160 × 3840 or platform-specific vertical 4K | Review faces, hands, and cropped product edges. |
| Square product post | 2160 × 2160 | Leave space around the product for platform UI. |
| Internal review | 4K master plus a smaller preview | Use the 4K file as the source for future exports. |
For most web use, MP4 with H.264 is broadly compatible. If your workflow supports it and the destination accepts it, a more efficient codec can reduce file size, but always test playback before publishing.
Common 4K Upscaling Problems and How to Fix Them
The output looks too sharp
Over-sharpening usually appears as bright outlines around products, faces, or text. Start with a cleaner source, avoid processing the same file repeatedly, and compare the enhanced video at normal viewing size as well as 100% scale.
Fine textures flicker
Fabric, hair, foliage, and small repeating patterns can change from frame to frame. Test a short segment with movement before processing the full video. If the source already contains compression noise, denoising or a cleaner original may help more than a stronger enhancement pass.
Small text is still unreadable
Upscaling cannot reliably invent a label or subtitle that was never captured clearly. Replace critical text with a new overlay after enhancement instead of relying on the AI to reconstruct it.
The video is large but not visibly better
Resolution alone does not guarantee quality. A larger file may still look soft if the source is out of focus or heavily compressed. Compare the same frame from the original and enhanced videos, and inspect the details that matter for your audience.
Faces or hands look unnatural
Human features are sensitive to frame-to-frame changes. Use the cleanest source available, avoid very short blurry frames, and review close-ups before using the result in a paid ad.
A Practical Ecommerce Workflow
For ecommerce teams, the most efficient process is usually:
- Create or select the strongest product video.
- Export a clean 1080p master.
- Upscale video to 4K using a short sample first.
- Review product details, faces, hands, and motion.
- Process the full clip only after the sample looks natural.
- Add final captions, logos, and platform-specific CTAs.
- Export versions for website, YouTube, TikTok, and paid social.
This approach keeps the AI enhancement focused on image quality. It also prevents captions and interface elements from becoming blurry when a video is enlarged.
If you are creating the video from a product page rather than an existing clip, start with UGCMaker's URL to Video workflow, then use the AI Video Enhancer to upscale video to 4K for delivery.
FAQ: 4K Video Upscaling with AI
Can AI upscale a 1080p video to 4K?
Yes. You can upscale video to 4K with AI from a 1080p source, and the model will enhance the appearance of edges and textures. The result depends on the source quality, motion, compression, and the type of detail in the footage.
Is 4K upscaling the same as generating a native 4K video?
No. Native 4K generation creates the video at 4K from the start. 4K upscaling enhances an existing video and creates a larger export. Both can be useful, but they solve different workflow problems.
Does upscaling make a blurry video sharp?
It can improve a mildly soft video, but it cannot fully restore detail that was never captured. A focused, well-exposed 1080p source usually produces a better 4K result than a heavily blurred or compressed clip.
Should I add captions before or after upscaling?
For the cleanest result, add important captions, logos, and calls to action after the video has been upscaled. This keeps the text sharp and lets you create versions for different platforms.
What is the best source for a 4K video upscaler?
Use the original camera or editing export whenever possible. Avoid repeatedly downloading and re-uploading compressed social media versions, because every extra encoding pass can remove detail.
Can I use an upscaled video for ecommerce ads?
Yes. Review the final clip carefully, especially product labels, faces, hands, and fast movement. Once it passes quality control, you can create platform-specific exports from the 4K master.
Final Takeaway
The best reason to upscale video to 4K with AI is not to make a poor source look magically perfect. It is to turn a clean, useful video into a sharper and more flexible 4K master without rebuilding the creative from scratch.
Start with the original file, test a short segment, inspect the details that matter, and add your final text overlays after enhancement. When you are ready, use UGCMaker's AI Video Enhancer to upscale video to 4K for your next campaign, or head to the UGCMaker homepage to see the rest of the toolkit.